Welcome to my new Robot Character series, where I’ll guide you to making a fully rigged and polished robot character in Blender 2.8. This series will be split into a few sections.
- Modelling I
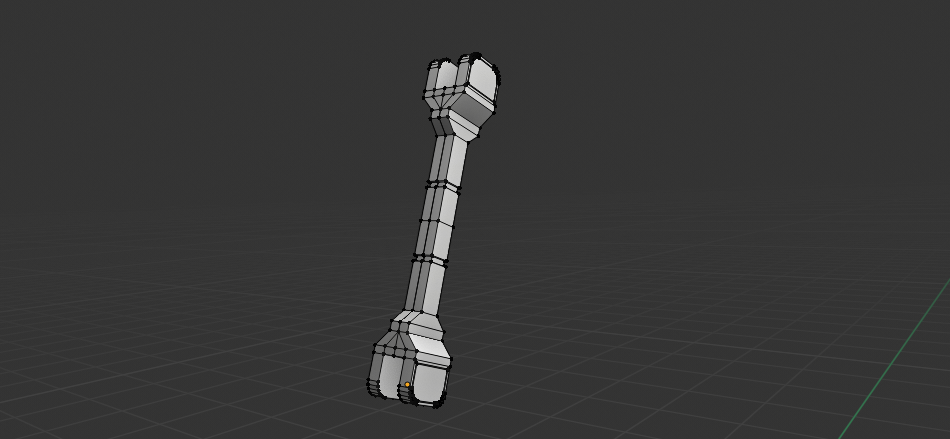
- Rigging (Using IK)
- Modelling II (Details & Kitbashing)
- Materials and Environment Setup
Video Tutorial
Text Tutorial - Robot Character Modelling Guide
First, we want to make sure our workspace is configured correctly.
Enable the appropriate Material Capture (Matcap) settings. You’ll find it next to the shading options in object mode here:

You can change the matcap material, to a lot of interesting options, and make sure you turn on “Cavity” for edge high contrast edges.
We want to split the cube in half with an edge loop, and then delete one side to enable us to use a mirror modifier. Make sure to turn on clipping.

Clipping prevents the mirrored sections from slipping past each other or ripping.
Now from here on out, it’ll be easier to describe some techniques to create specific components. I suggest you watch the video if you want a fuller explanation of how to make each component specifically.
This rounded joint structure is very simple to make. We use the default cube, and make three loop cuts looking downwards onto the cube. Then, we extrude only the outer two faces upwards to make a “U” shape.
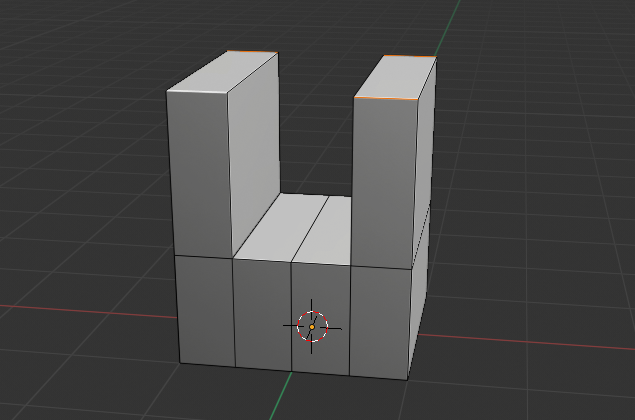
Then, with the appropriate edges selected, we use the Bevel Tool (CTRL+B) to round out the edge, scrolling up on the mousewheel to smooth out the corner. This method of rounding edges is extremely versatile.
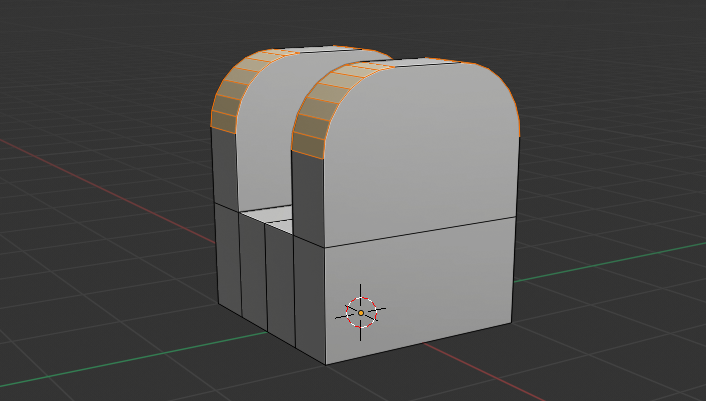
The exterior sides have an inset face which we can do with CTRL-I and moving the mouse inwards, then clicking and extruding (CTRL-E) the inset face inwards.
The part that fits inside this joint (which sort of “sandwiches”) another rounded member can be made from the original piece. We can duplicate the middle two faces (the ones we didn’t extrude upwards), and hit P (Separate) > By Loose Parts to turn this duplicated face (which happens to fit exactly in the joint) into a separate object.

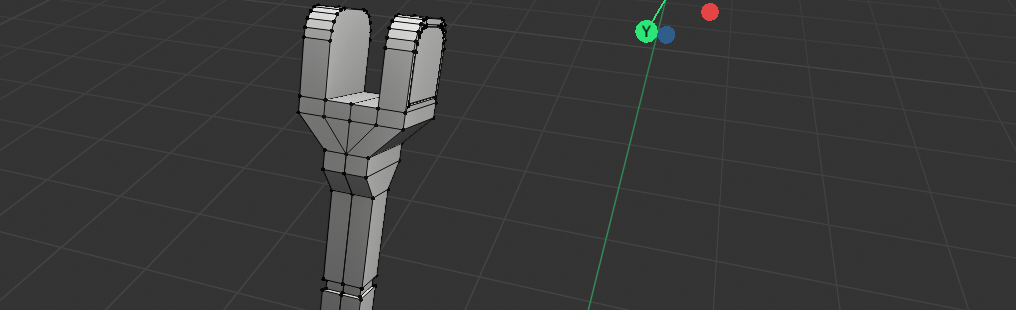
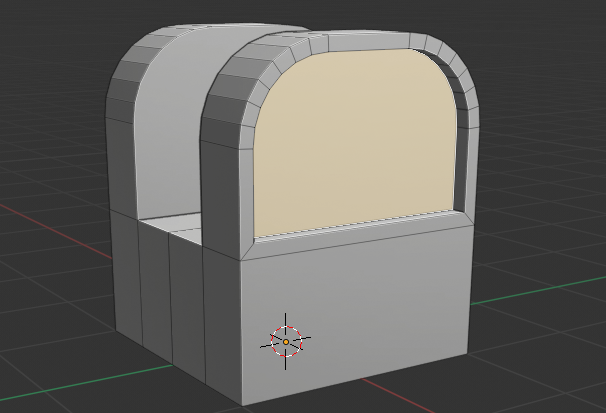
We can then extrude it upwards and shape it via the same insetting and bevel/rounding technique as before to create another rounded joint. Then, we scale down and extrude upwards to make the whole leg structure.
We can mirror the foot and leg section vertically to make a whole structure that has the same joint on both sides.
Now, we repeat this a few times for the legs, and then we’re done with those.
For the body, we can again start with the cube, and bevel the edges.

Made by bevelling and loopcutting.
However, we’ll need a “socket” to fit the leg joints (or rather, hide the fact that they’re not actually connected to anything!) so we can create a hole using the extrude tool.

Now the segment is extruded inwards, to form a socket.
Note that these bevels have a resolution/segment number of 1 only, so it makes a sharp 45 degree cut. This looks good to me, though you may change it to a higher resolution for a rounded body.
Also, when in bevel mode (CTRL-B) it may help to change the mode with M to “Percent” rather than any of the other settings.
This is all the techniques we’re using today, and by continuing them and using some creativity we can build up the rest of the model quite easily.
If you need more clarification on any of the steps, feel free to watch my video as I explain every step exactly, but if you can build something simply following these steps you’ll definitely end up with a more unique robot structure, which would also be cool.
Further inspiration
https://www.artstation.com/artwork/machinist-clothes-turnaround
Concluding Thoughts
One of the most important things I’ve learned from making this tutorial is the importance of research in making technical models. Some 3D models don’t require much thinking and can be made on the fly by adding together abstract bits or sculpting and retopologizing a model. However, mechanical accuracy is incredibly important when making robots and it is essential to research the types of joints, pins, connectors, supports and other mechanical components involved with making a robot.
Though we’re only using simple modelling tools, it’s important to try and maintain a sense of mechanical possibility in this, and each detail adds a great deal of character to your model. However, that doesn’t mean you can’t be creative with these models. Rather, you want to be creative in putting together the parts of your robot character in unique ways, designing unique interactions and functions using existing mechanical components.
Good luck! I’ll see you in the next tutorial for making our robot character move!