The Ocean modifier is one of the coolest things Blender is capable of, and layering effects on top can make a really neat cinematic. You can make an ocean scene very easily with Blender 2.8 and the new (and awesome!) EEVEE render engine.
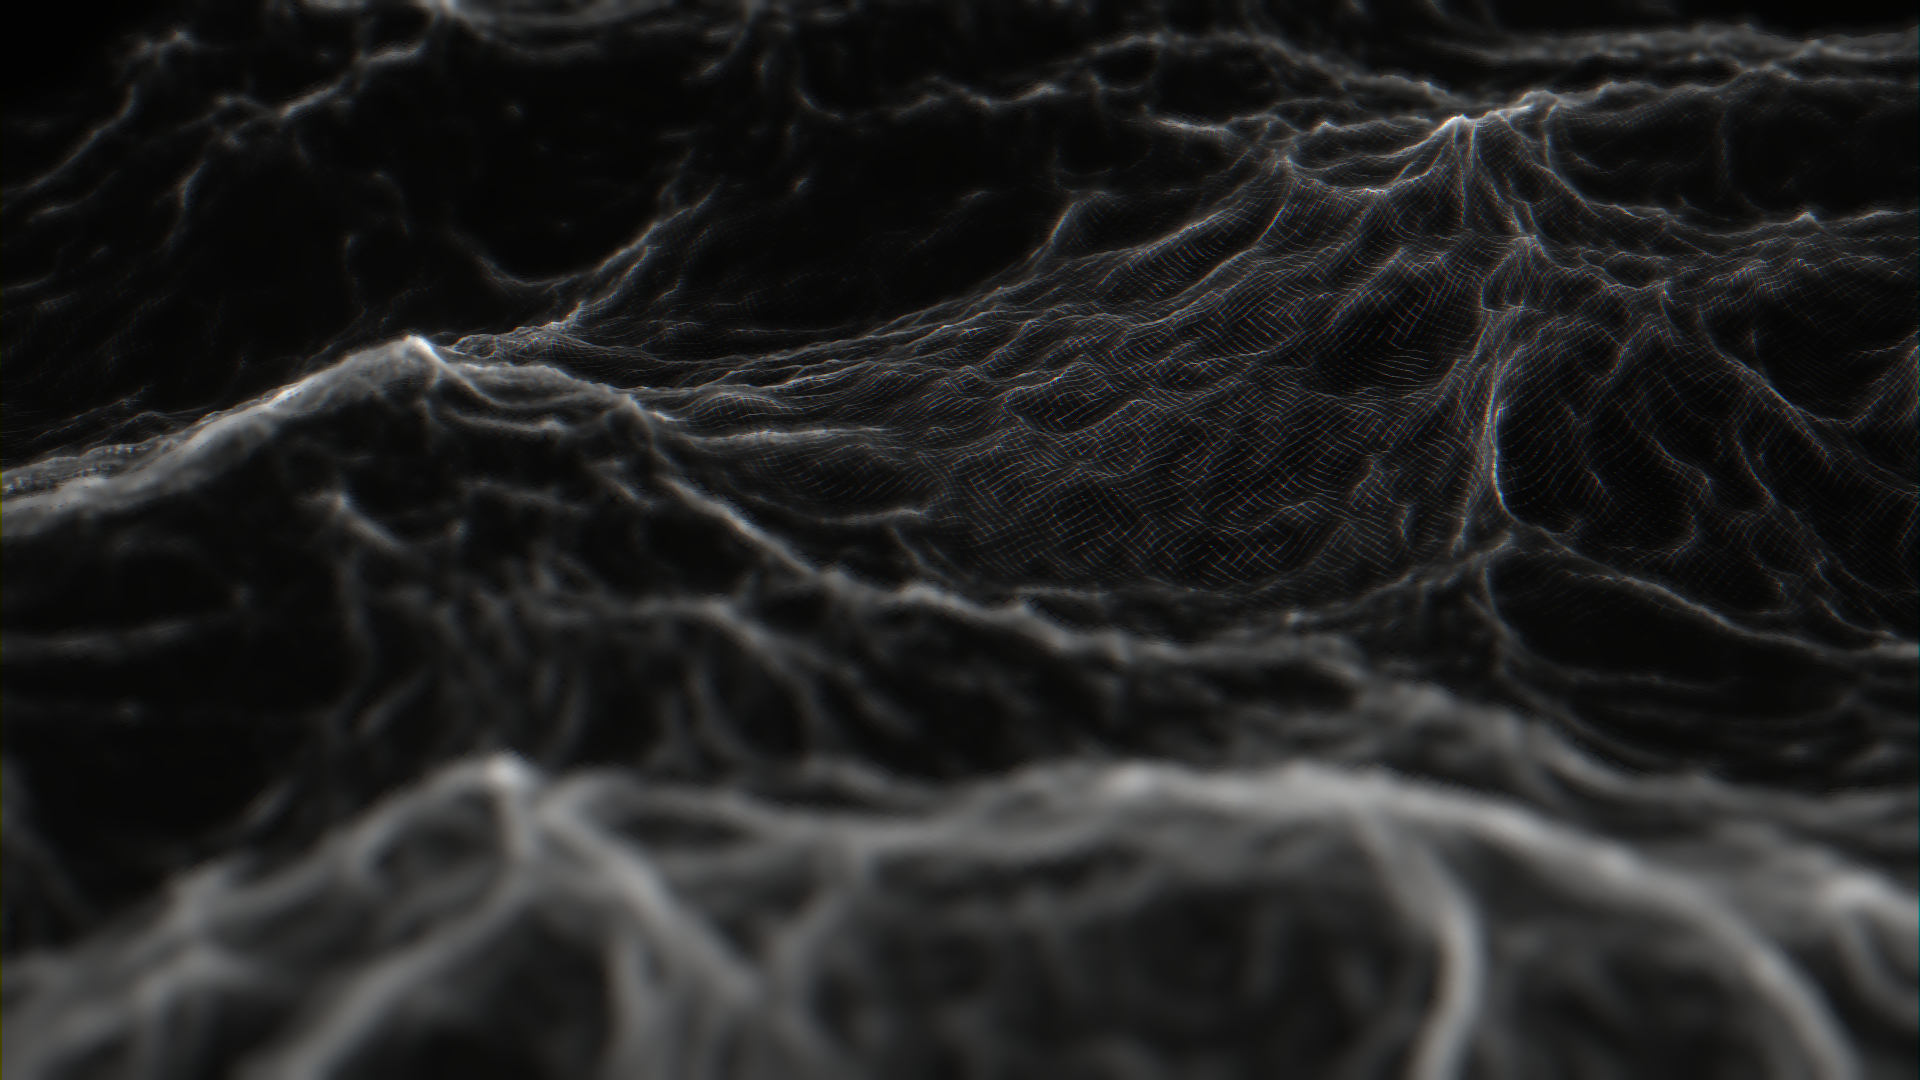
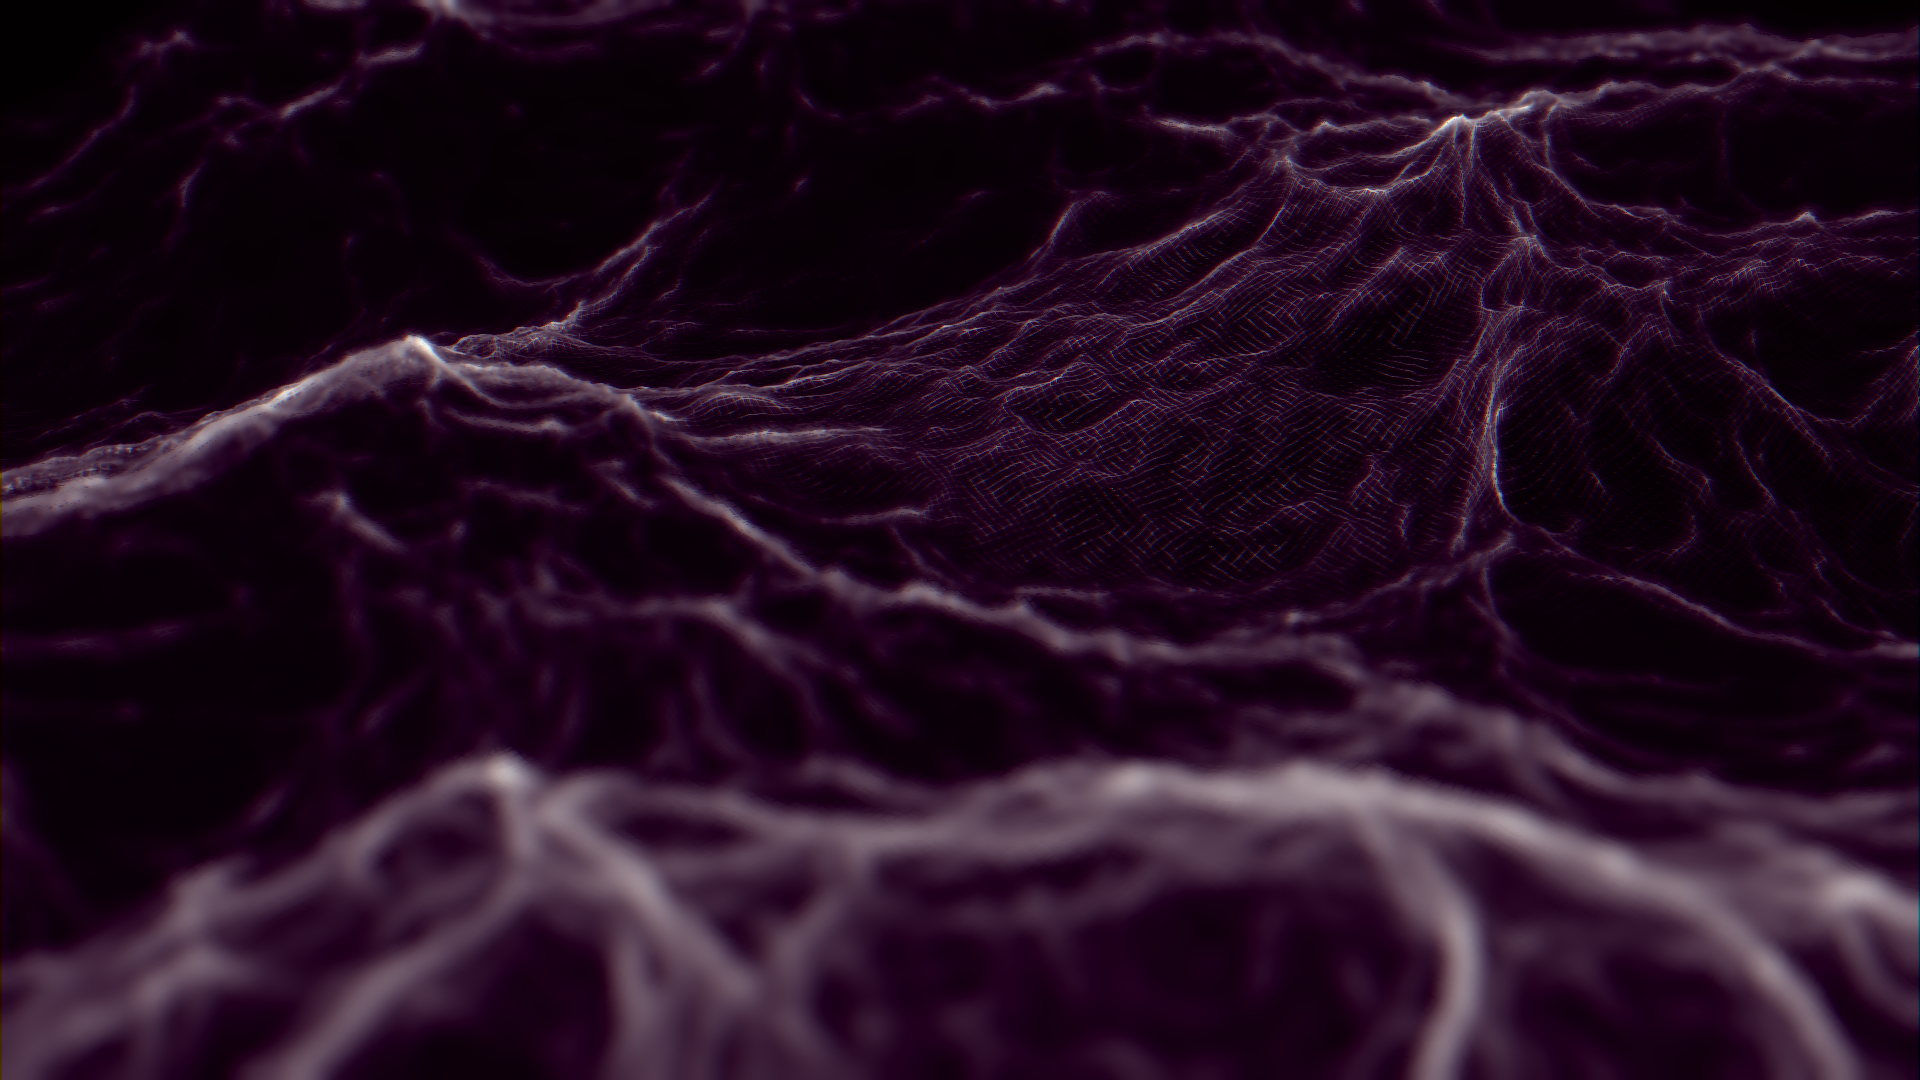
Finished Product

Tutorial
Modelling and Modifiers
Replace the default cube with a plane, and attach an Ocean modifier with the settings changed below, and a Wireframe modifier.
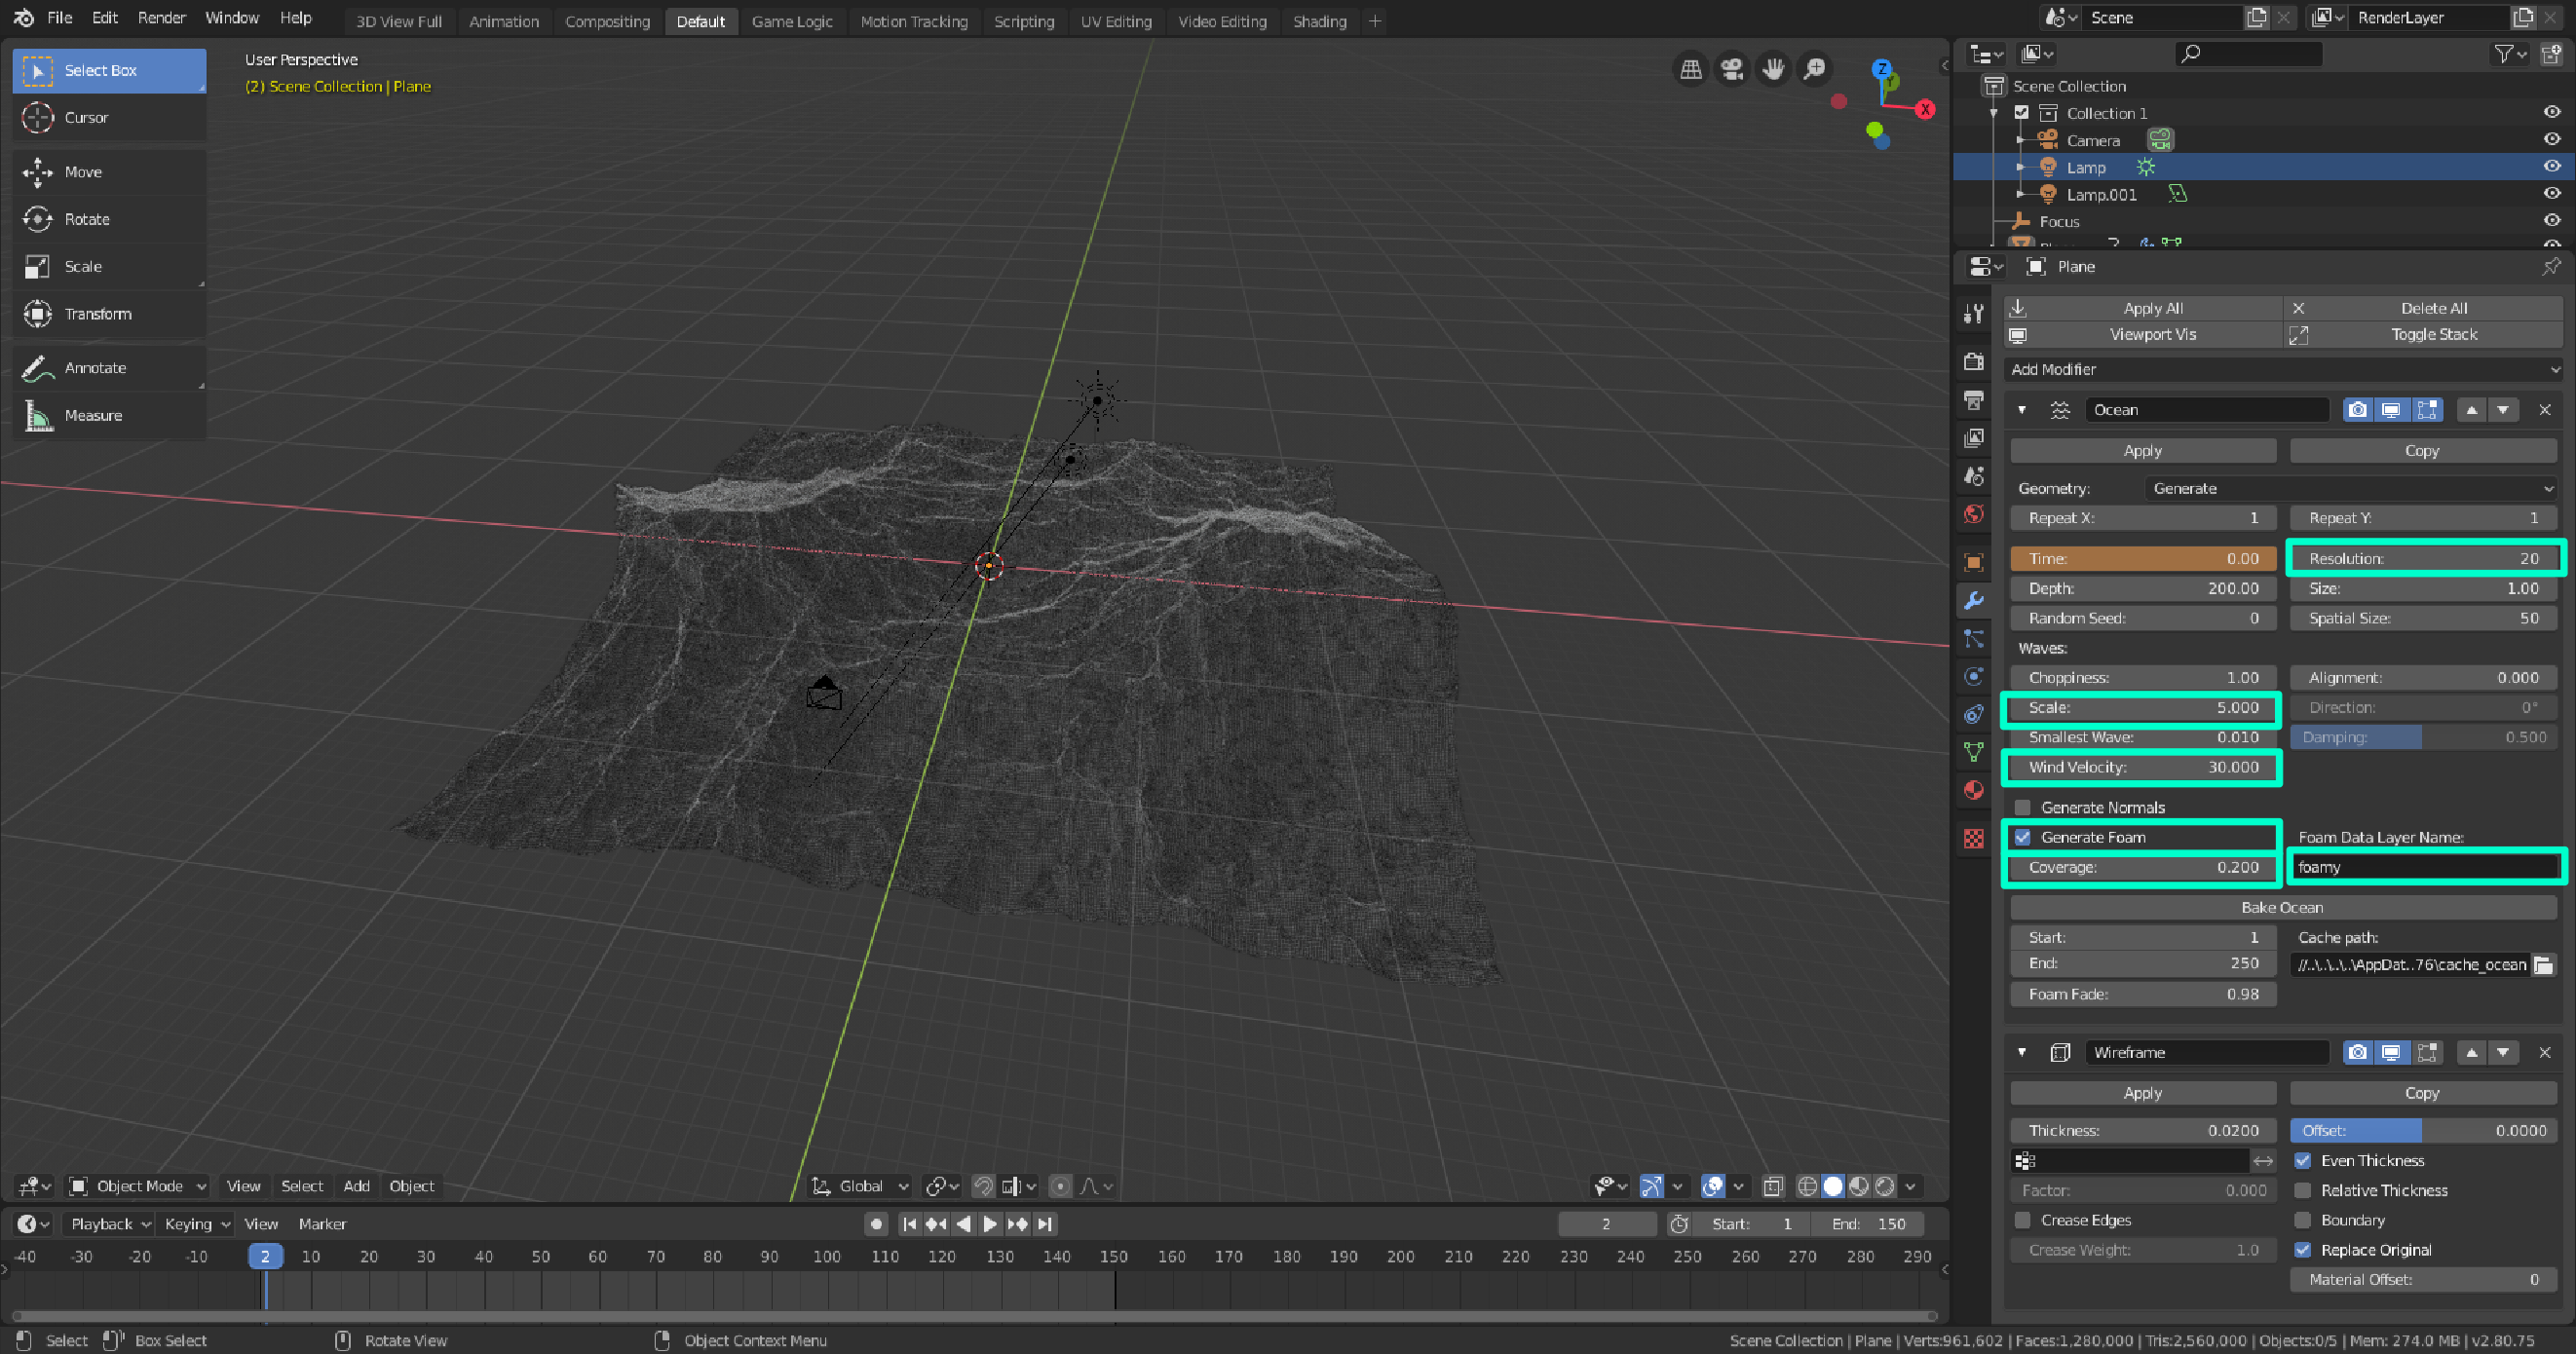
The Resolution setting is very important. If you use too low of a resolution, the waves will be of very low quality. If you use a very high resolution, your computer might crash. As is, there are almost a million vertices in this scene, and it’s rather laggy.
Also, you can call the “Foam Data Layer Name” whatever you like. Just make sure you remember it, because we need to set it later for blender to find. It defines the regions of the mesh where “Foam” should appear.
The wireframe modifier gives the mesh a unique CGI look, but if you want a normal looking ocean, then you can ignore it. It also adds a lot to the graphics load, so it will slow down your computer.
Materials
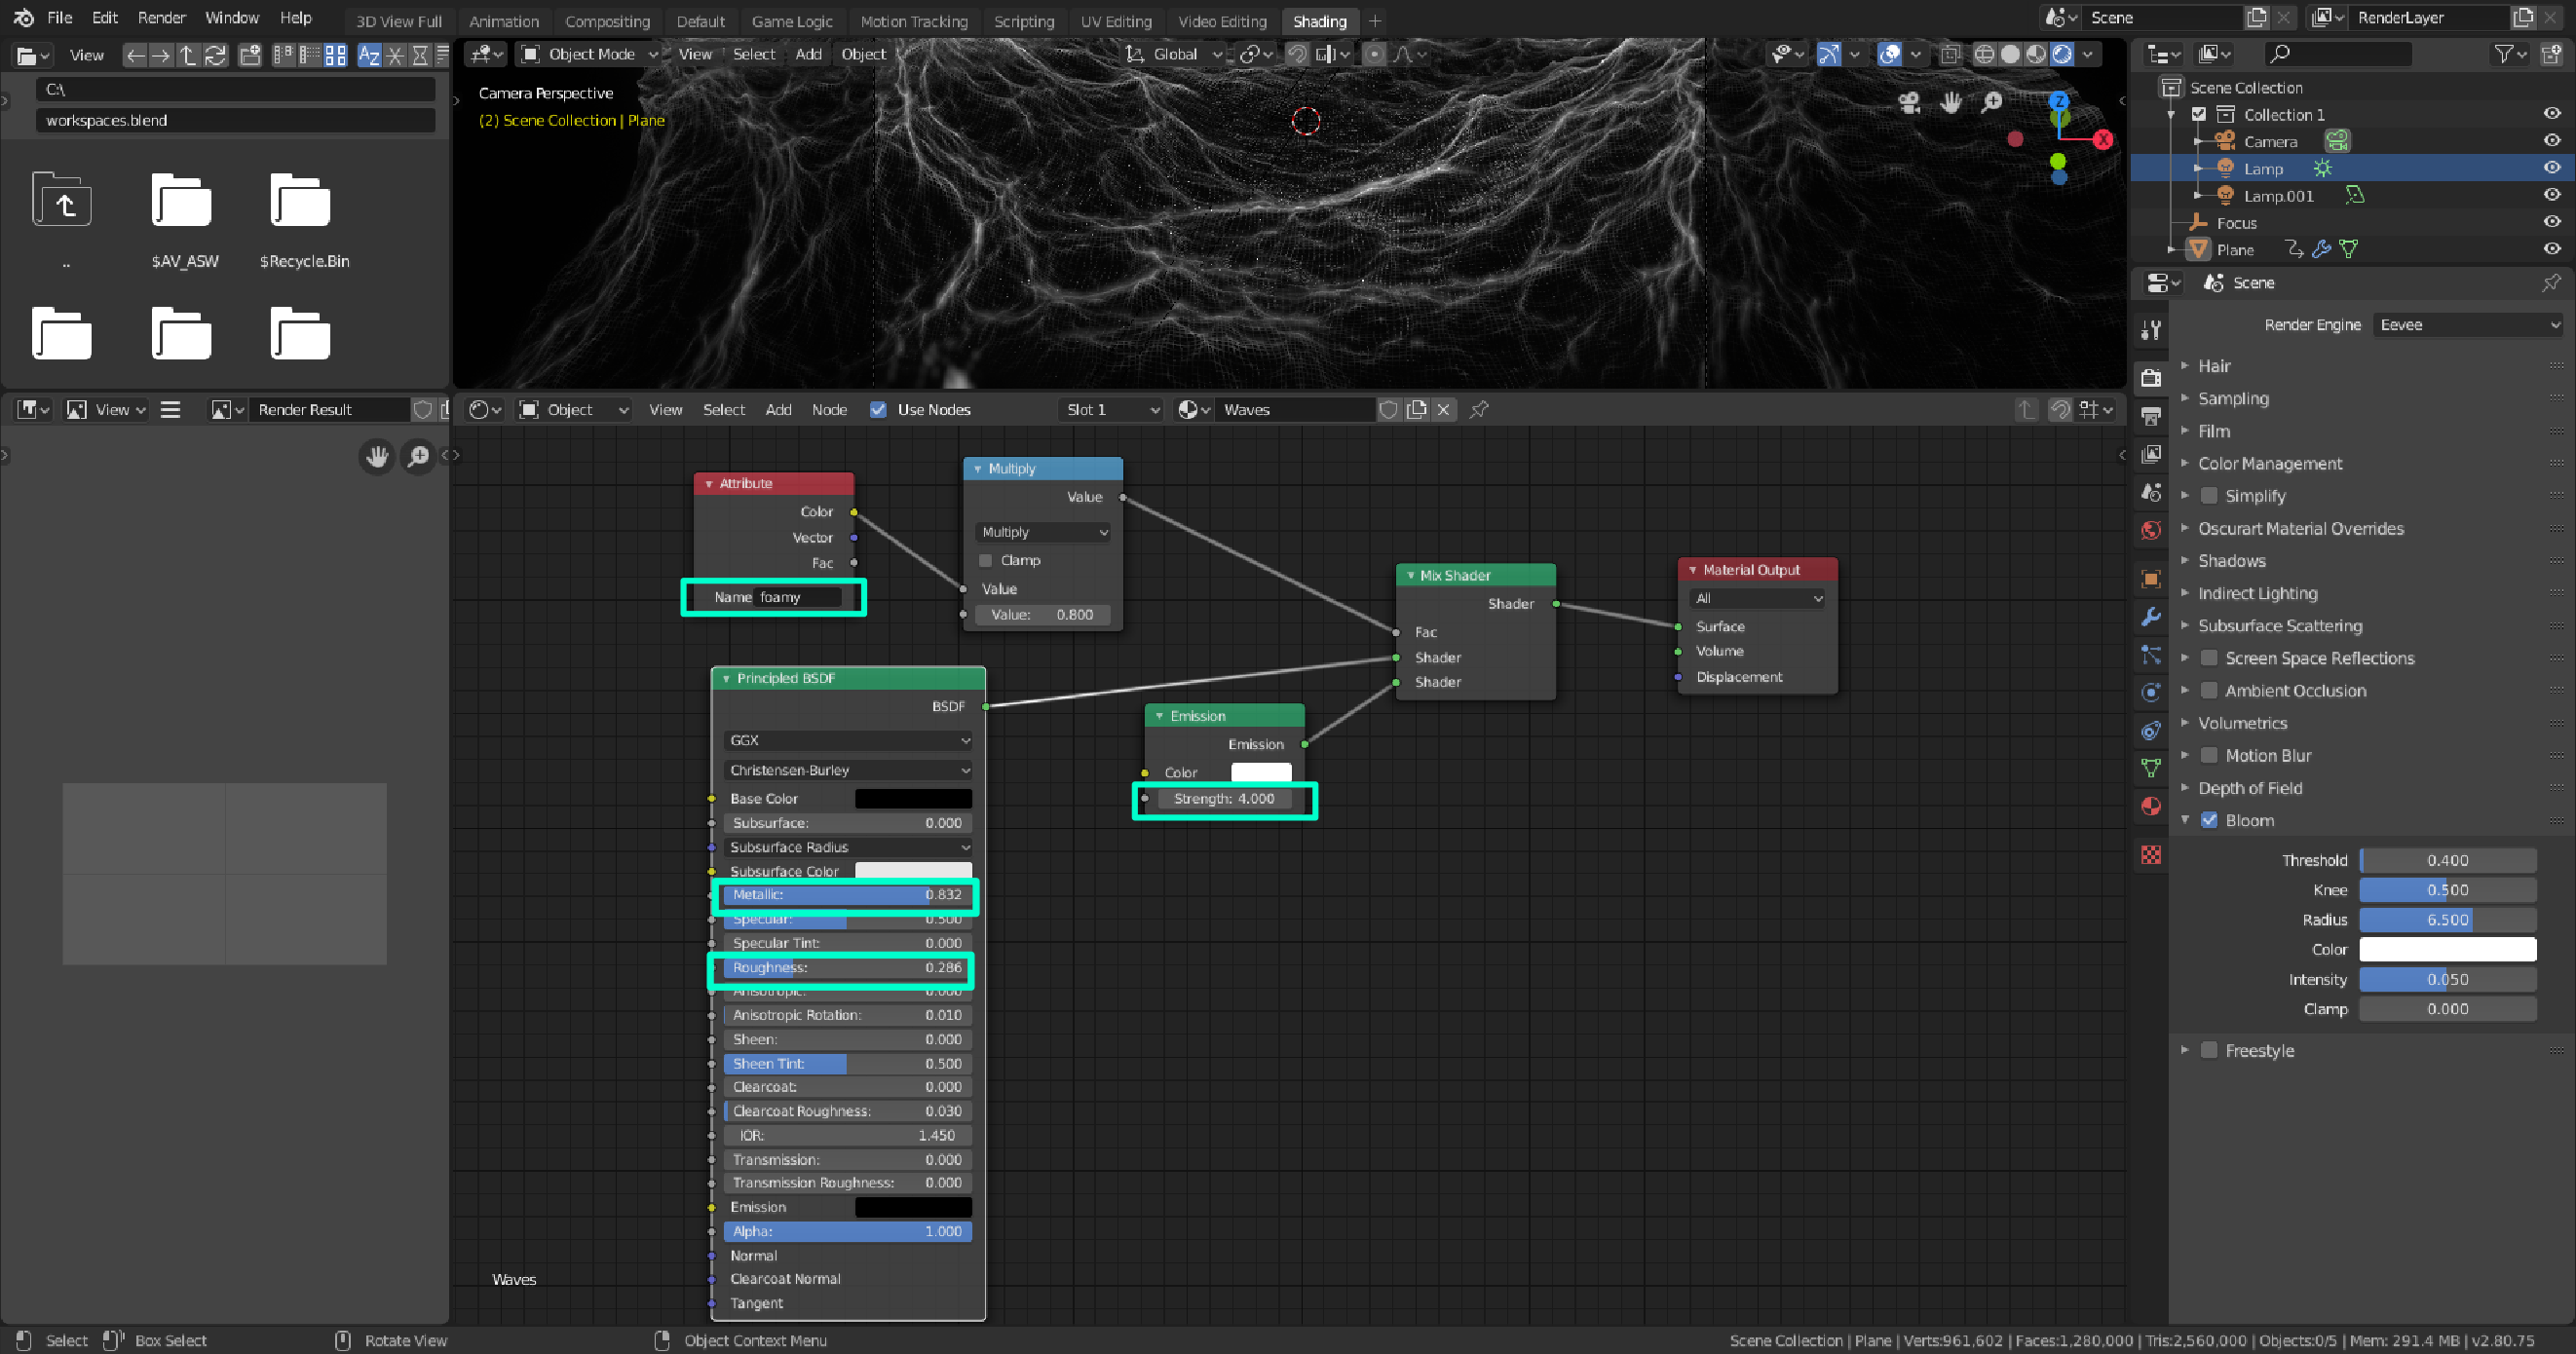
The “Attribute” node is where you put the name of your foam data layer name. Just make sure they’re called the same thing, or else it won’t work!
The general idea here is that you’re combining a really dark, metallic surface (similar to water) with a bright, emissive surface (similar to foam), and defining how they mix with the attribute node. You can change the multiply quantity to reduce or increase the “strength” of the foam.
Effects
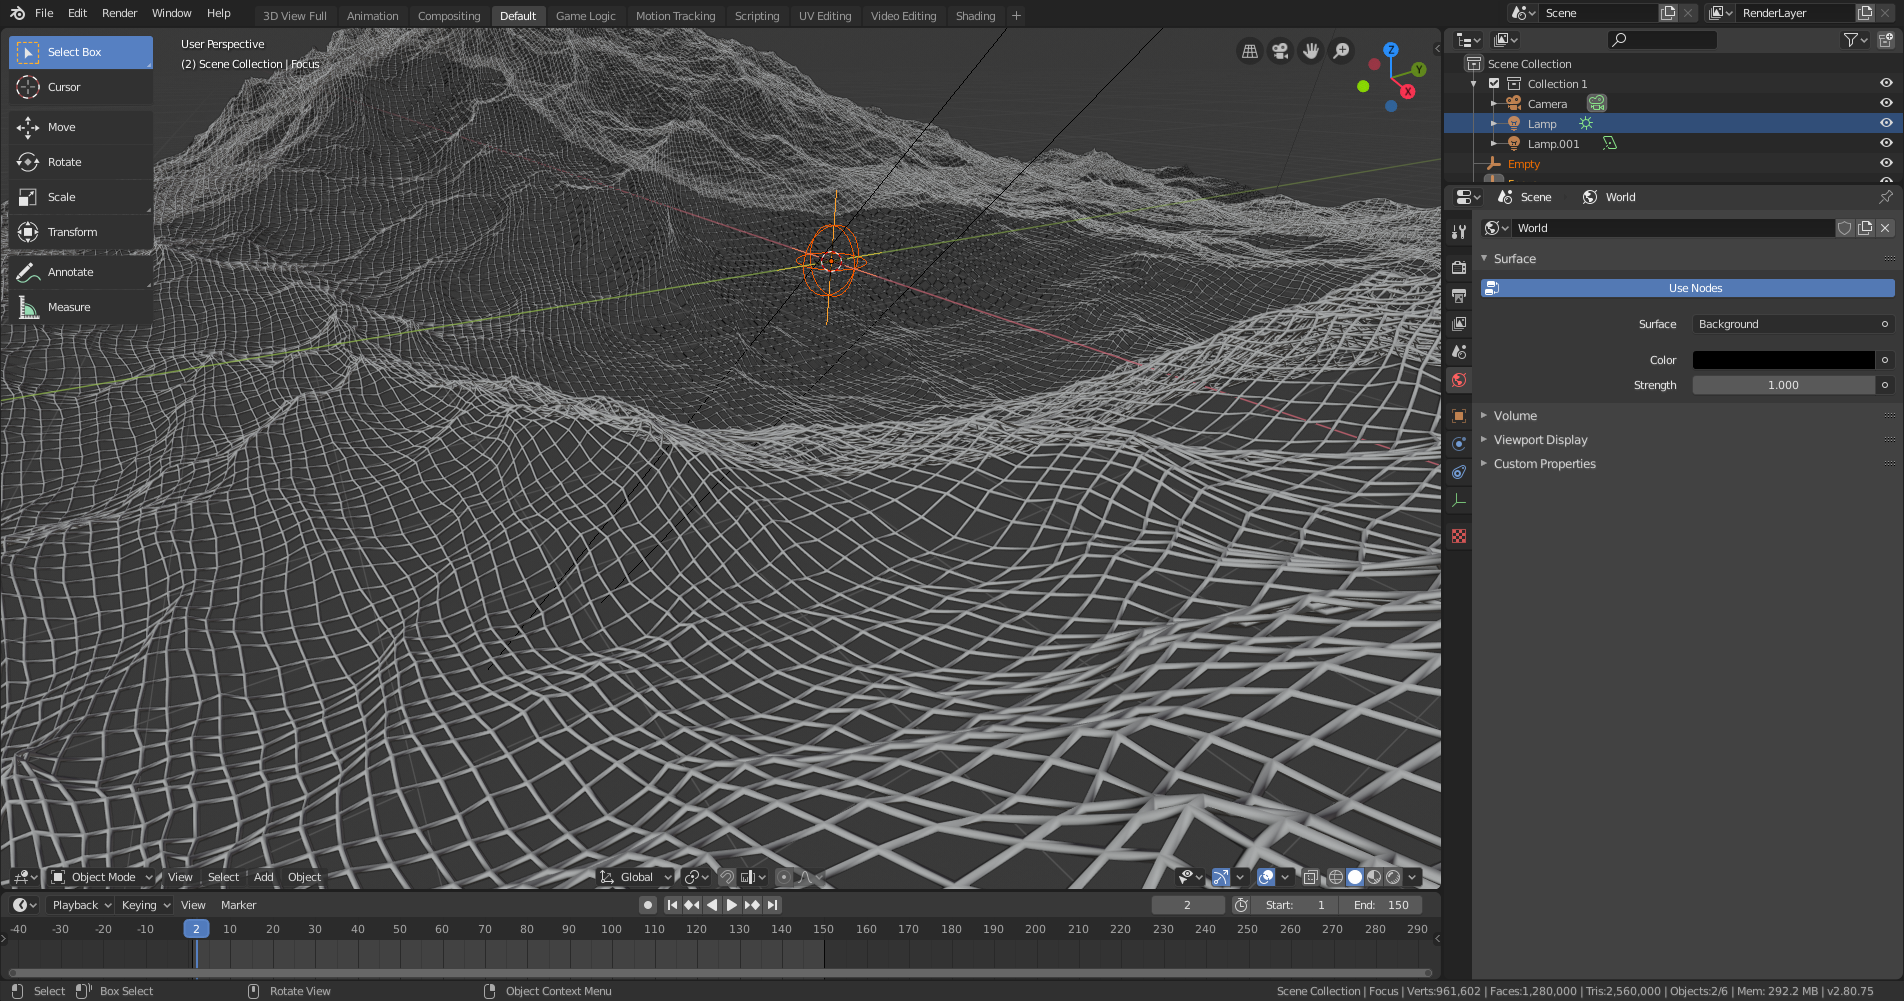
Setup the Depth of Field by adding a “Focus” empty object (Shift-A > Empty > Plain Axes or whatever, they won’t show up in the render).
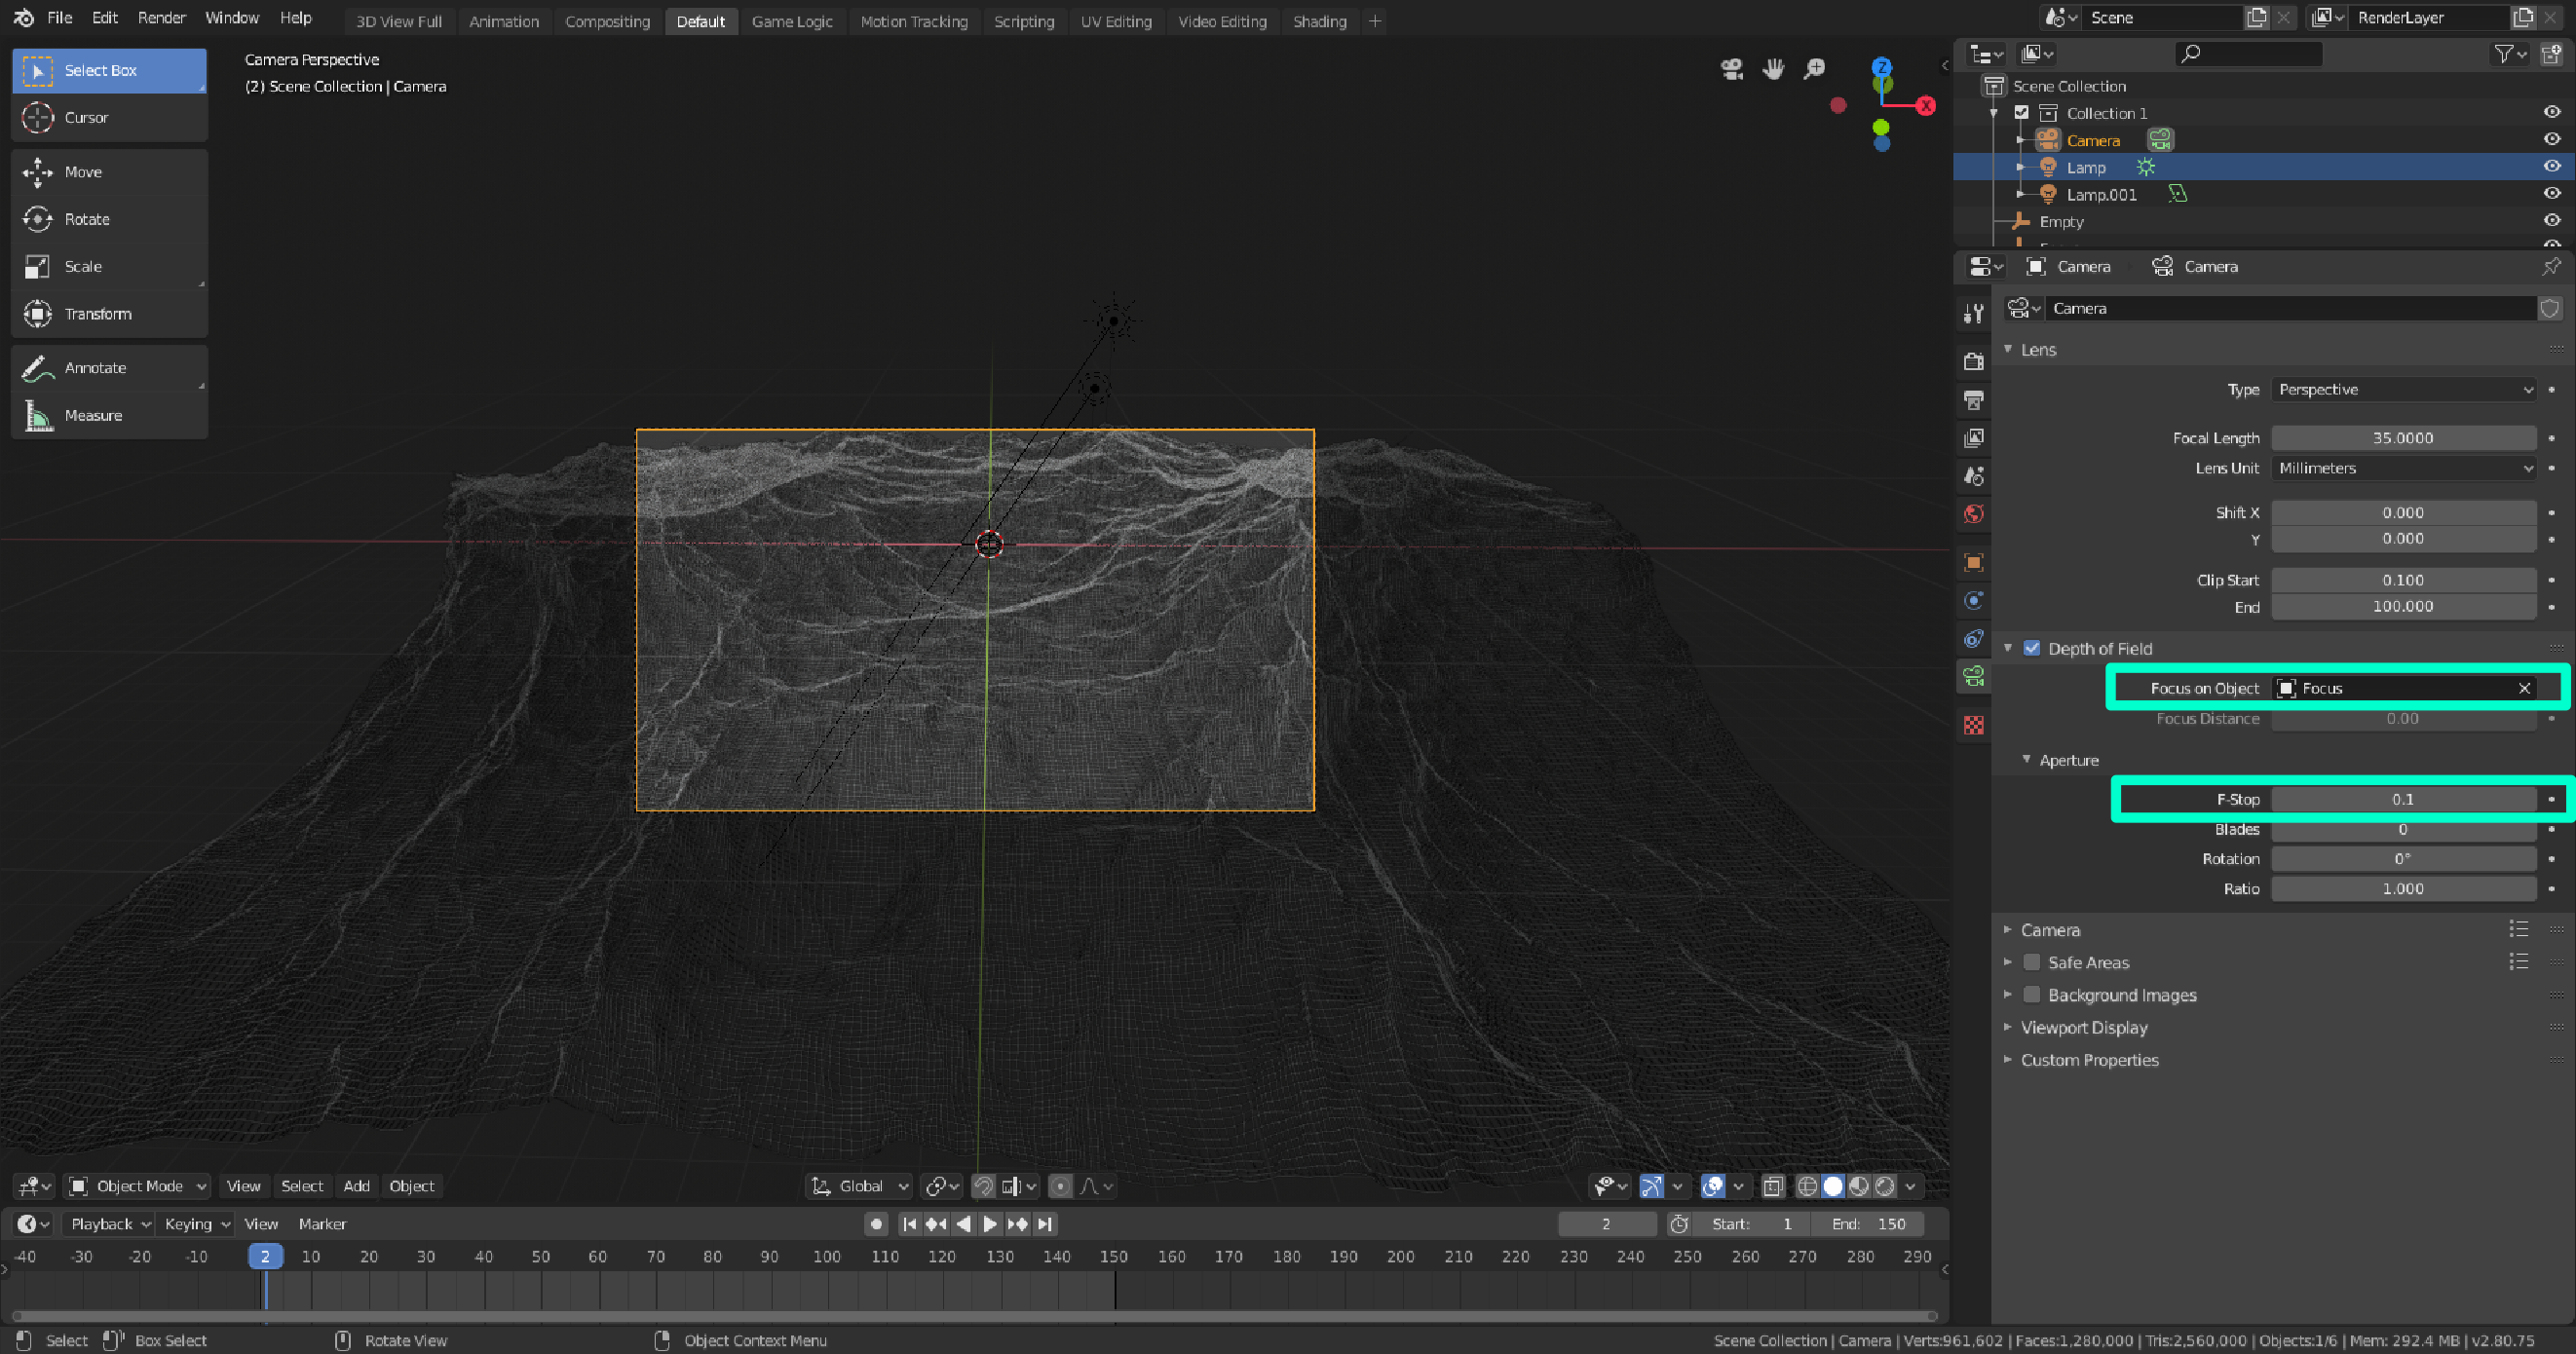 Then, select the camera and enable depth of field, and change the focus object to your focus. Also, reduce the F-Stop until your scene seems adequately blurred out. This depends on the scale of everything in your scene, which may vary. A lower F-Stop causes more blurring.
You may set up a sun lamp or an area lamp with strength set to 10000 if you want to create some accent lighting to focus on a part of the scene, but it’s not totally necessary.
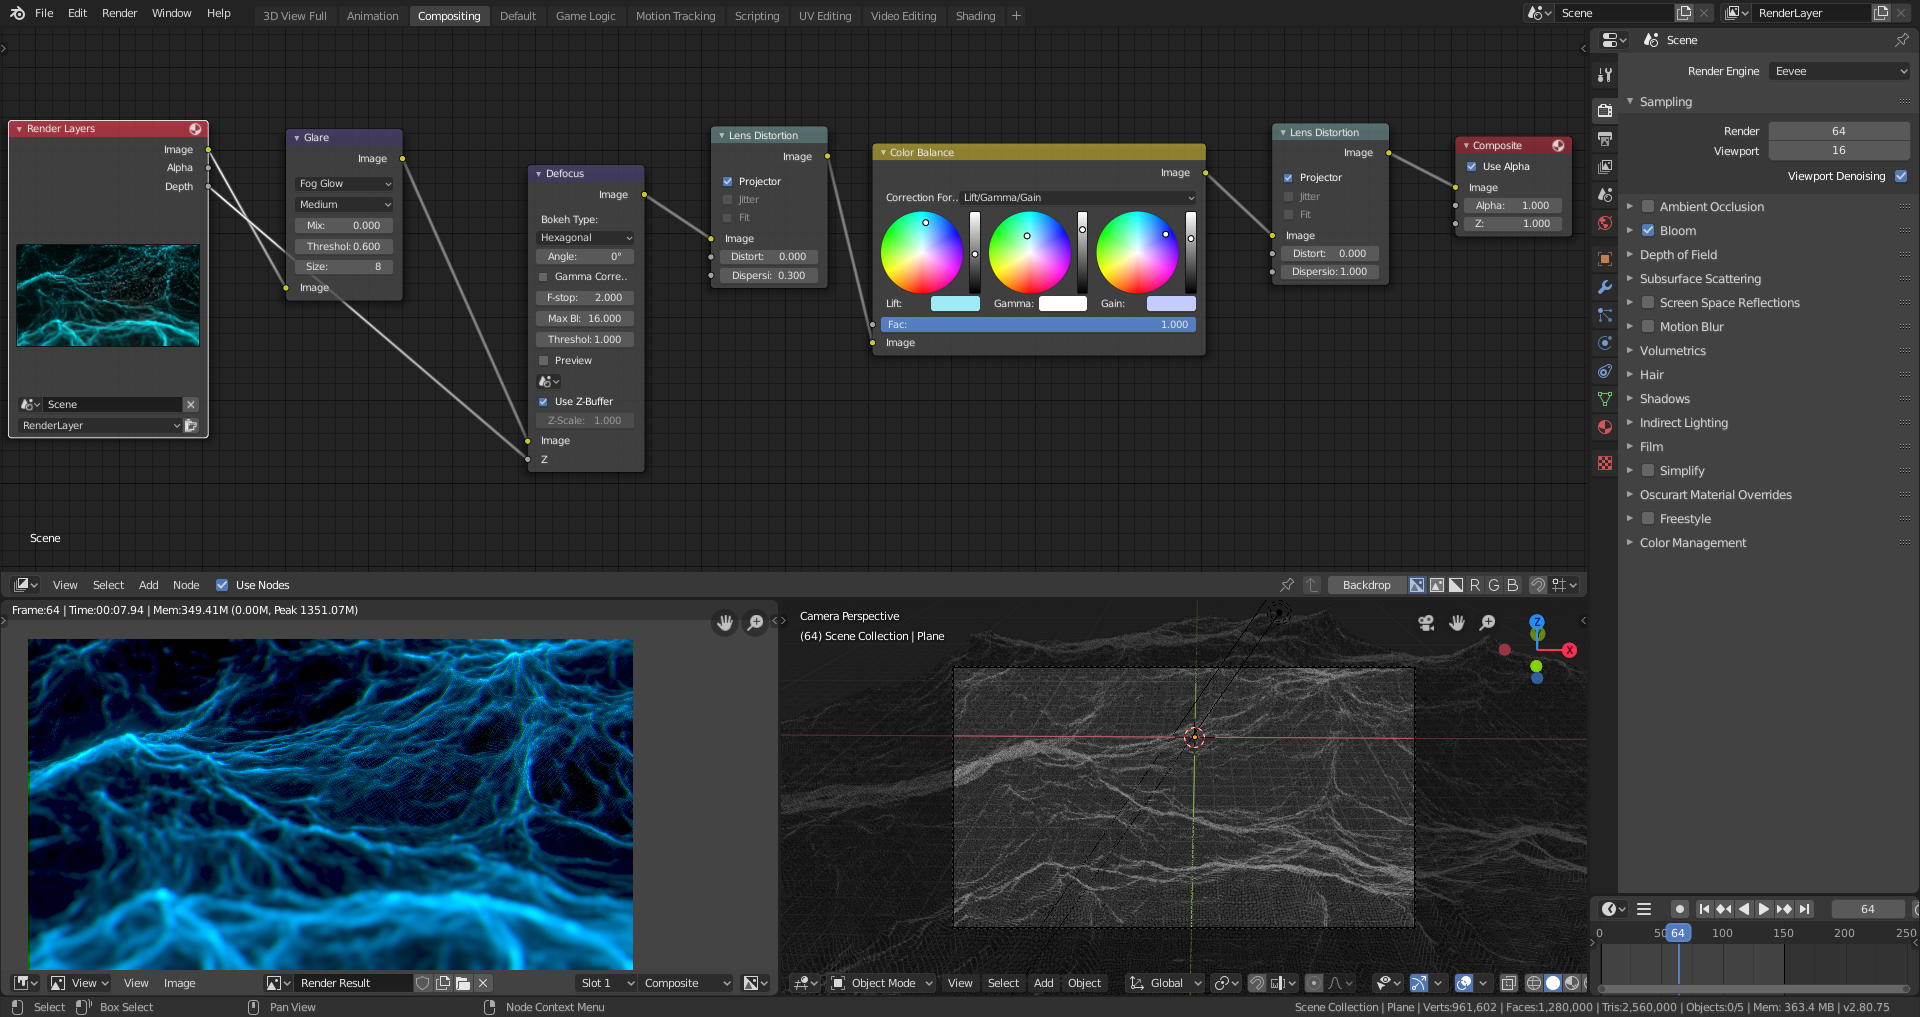
Make sure you also check “Bloom” in the Render options for some glow effects.
Animation
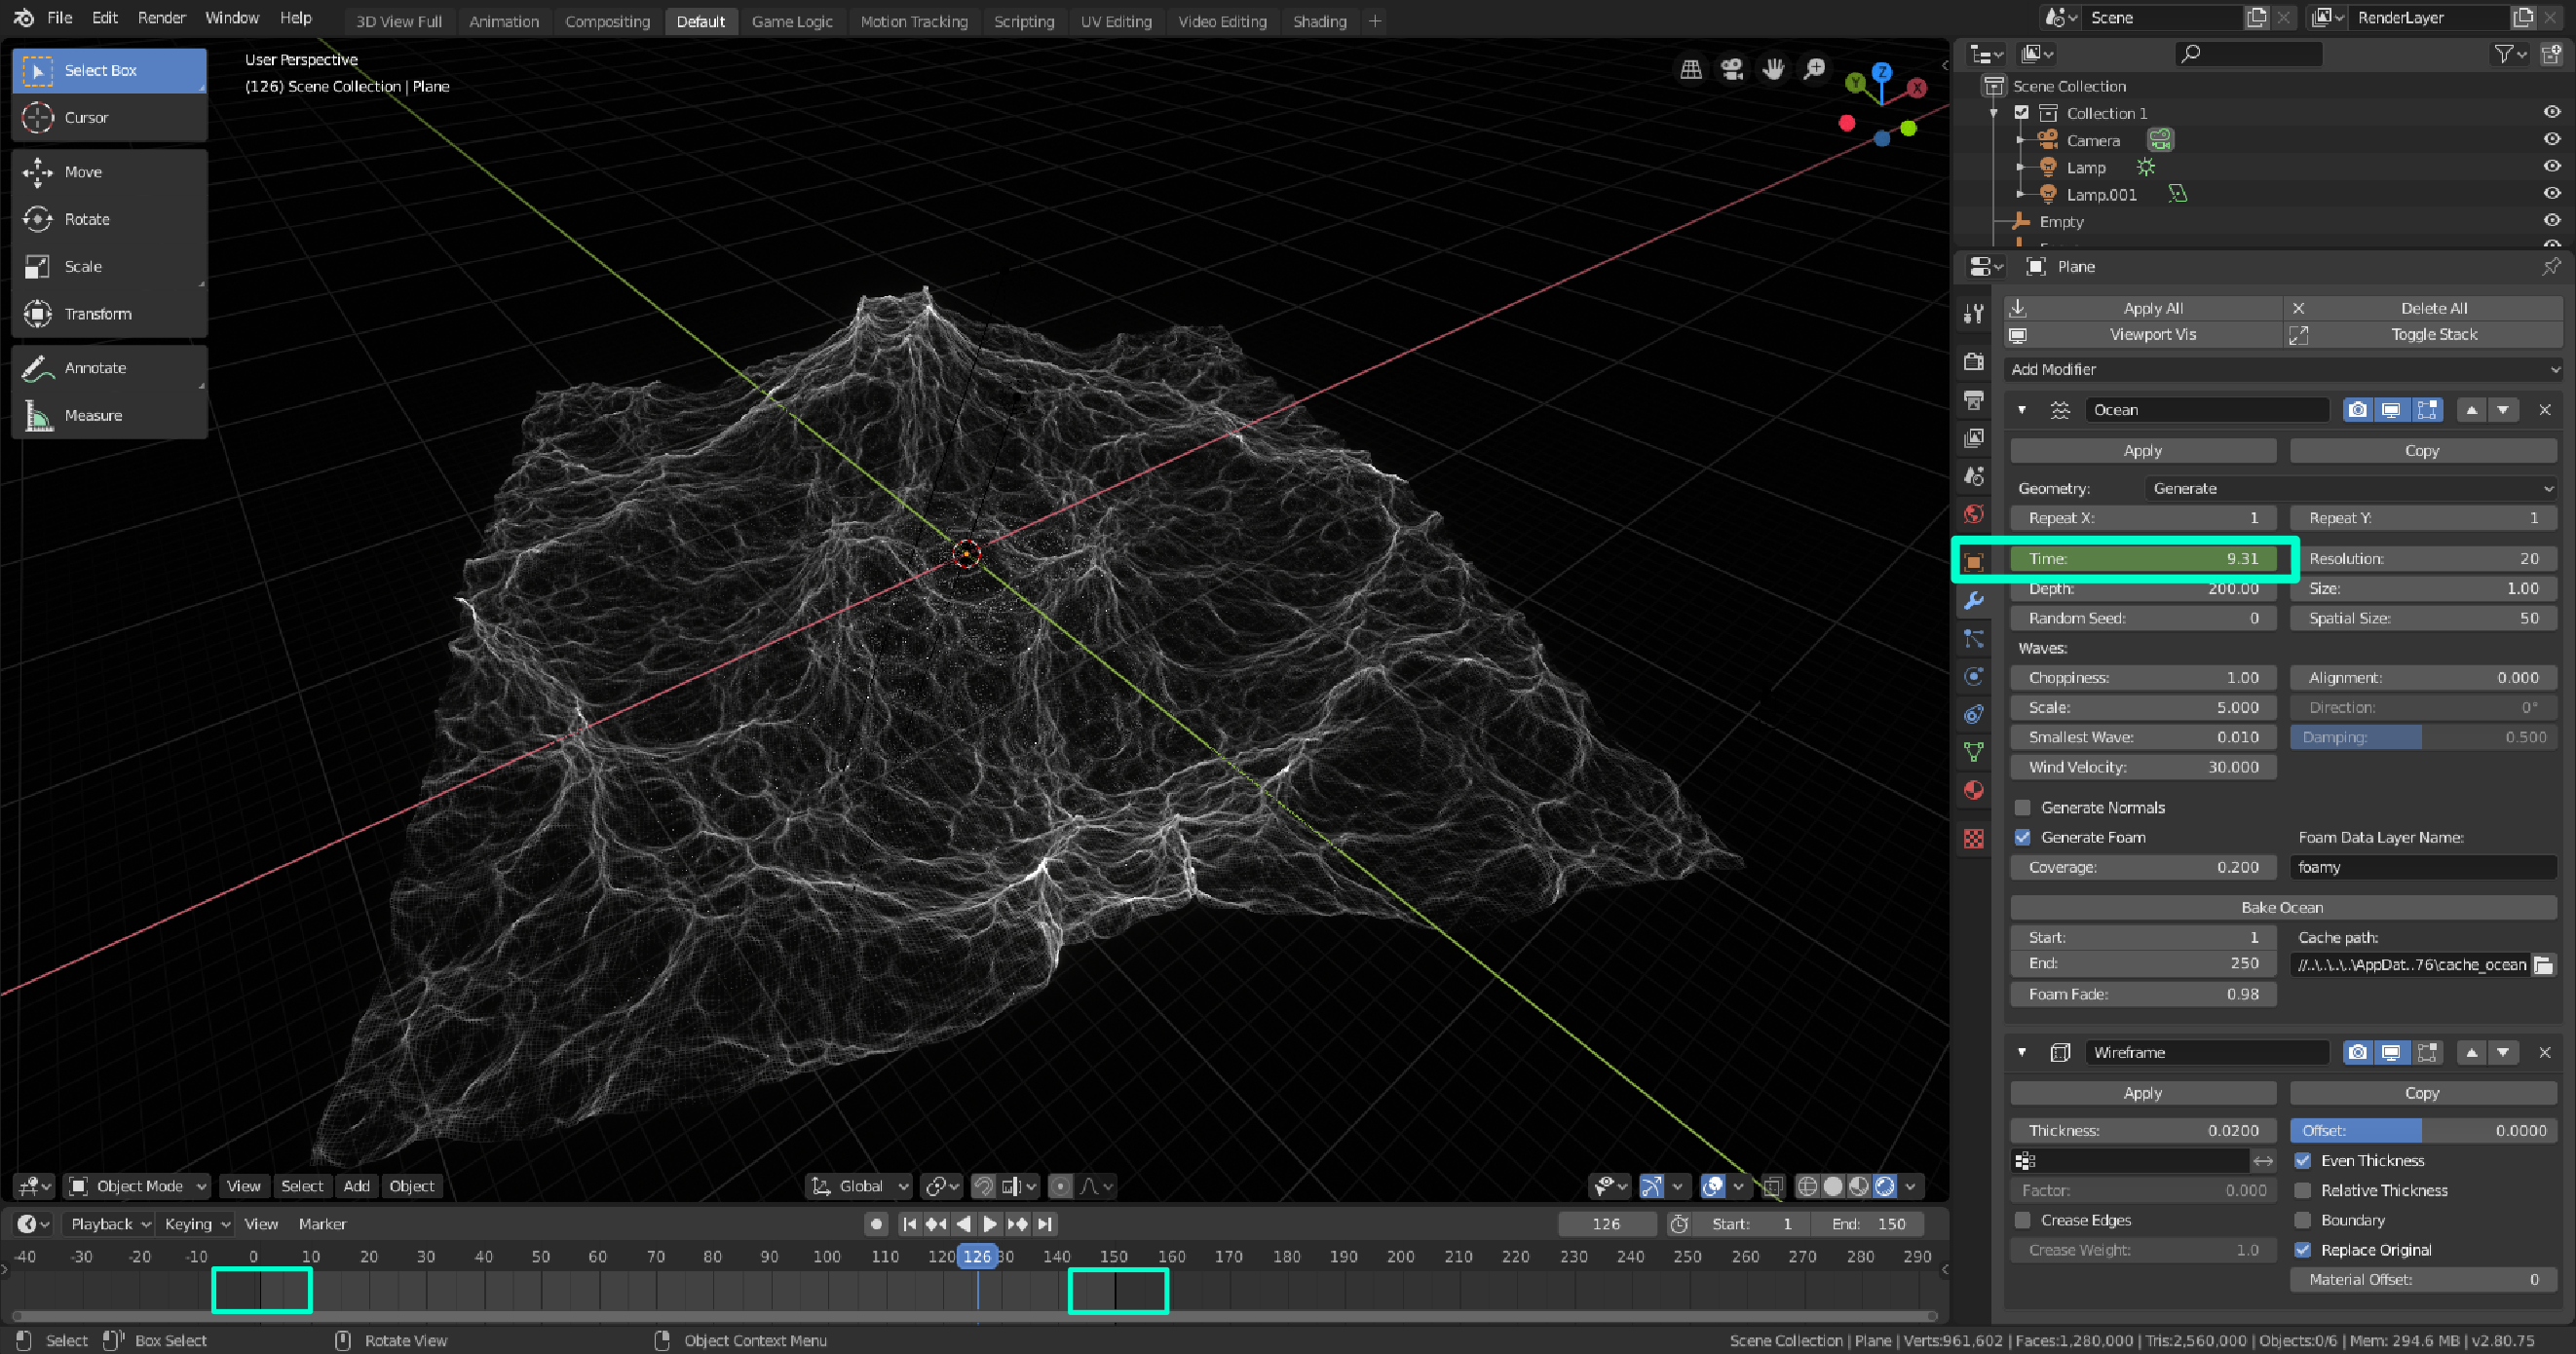
You might have noticed that changing this time value makes the waves move. To animate it, go to the first frame on the timeline, set the time to zero, and mouseover the green field on the image and hit the I key. Then, move to the last frame of your animation, (say, 150) and set the time value to something close to #frames/10, and then hit I. I set my time value to 10 for 150 frames. If you use a longer time period, (like 40), the waves will move faster, than if you used a slower time period.
Compositing
Finally, for some compositing effects, follow this node layout. The glare adds a bit more glow around the particles. Defocus creates an extra depth-of-field effect on top of your existing one. Lens projection makes the chromatic abberation around the mesh (keep it down, too much looks bad) and the Colour Balance alters the colour of the final scene. It is by default black and white only, but if you change the Lift to ocean blue, then your scene will be coloured like an ocean.
This specific setup makes that digital-glitch cyberpunk style, colouring the waves an icy electric blue and adding some colour artifacts around it.
Thanks for reading my tutorial, and if you want to see more you can check out some of my other ones that use similar techniques.