Lightning beams are a cool looking and extremely easy effect to make in Blender 2.8, and it can be done in REALTIME with the new EEVEE render engine.
Step 1:
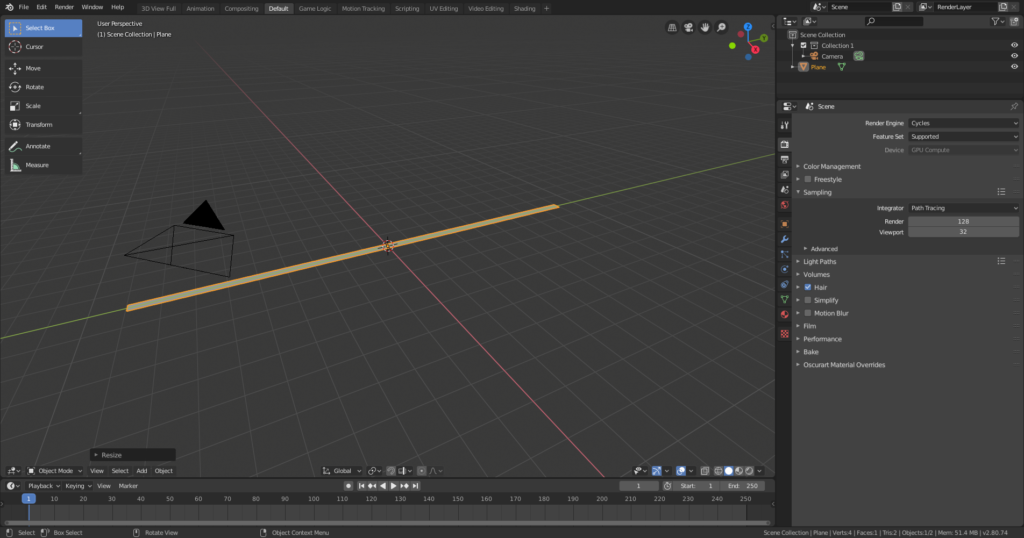
Remove the default cube, and replace it with a plane. Stretch it out along the Y axis by S > Y, and then scale it down on the x axis. The final length of the plane will be the length of the lightning beam.
Step 2:
Loop cut the plane by Ctrl+R, and type 100, to place 100 cuts along the surface of the plane. Click to cut.

Step 3:
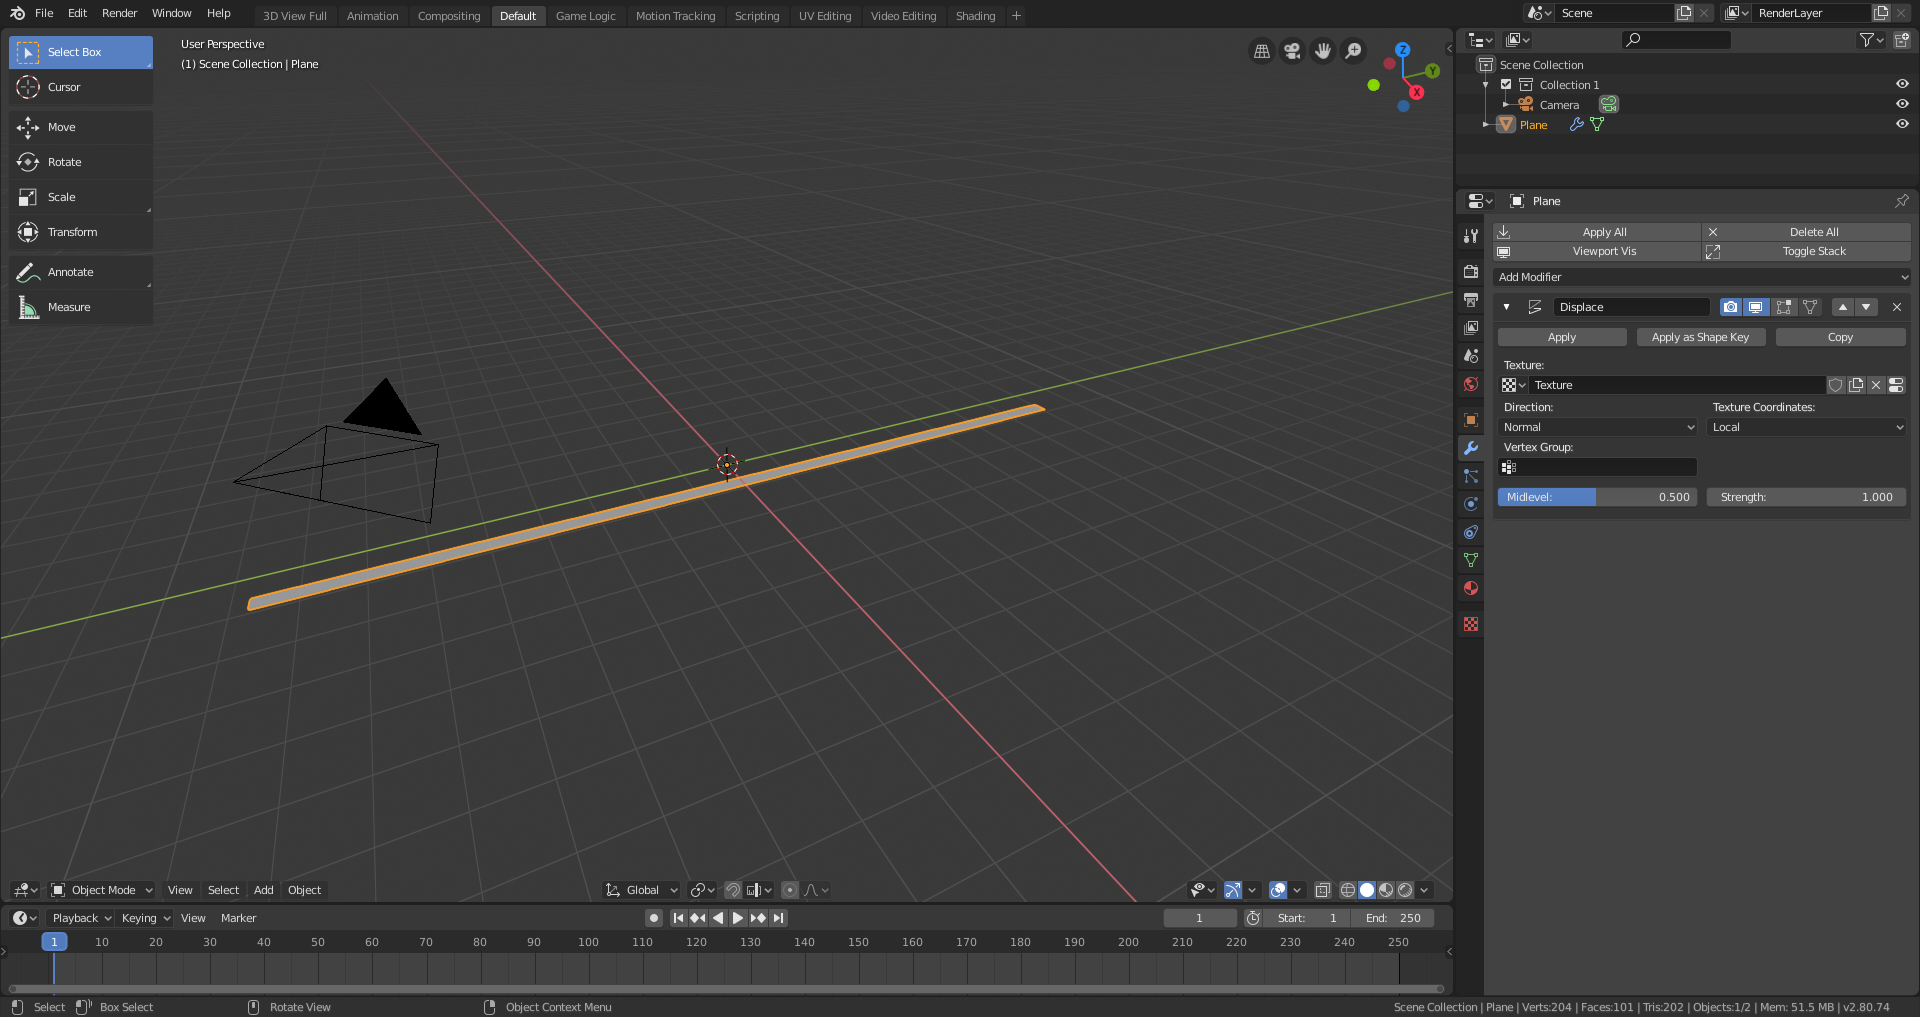
Add a distortion modifier to the plane, and under the texture field, click New.
Step 4:
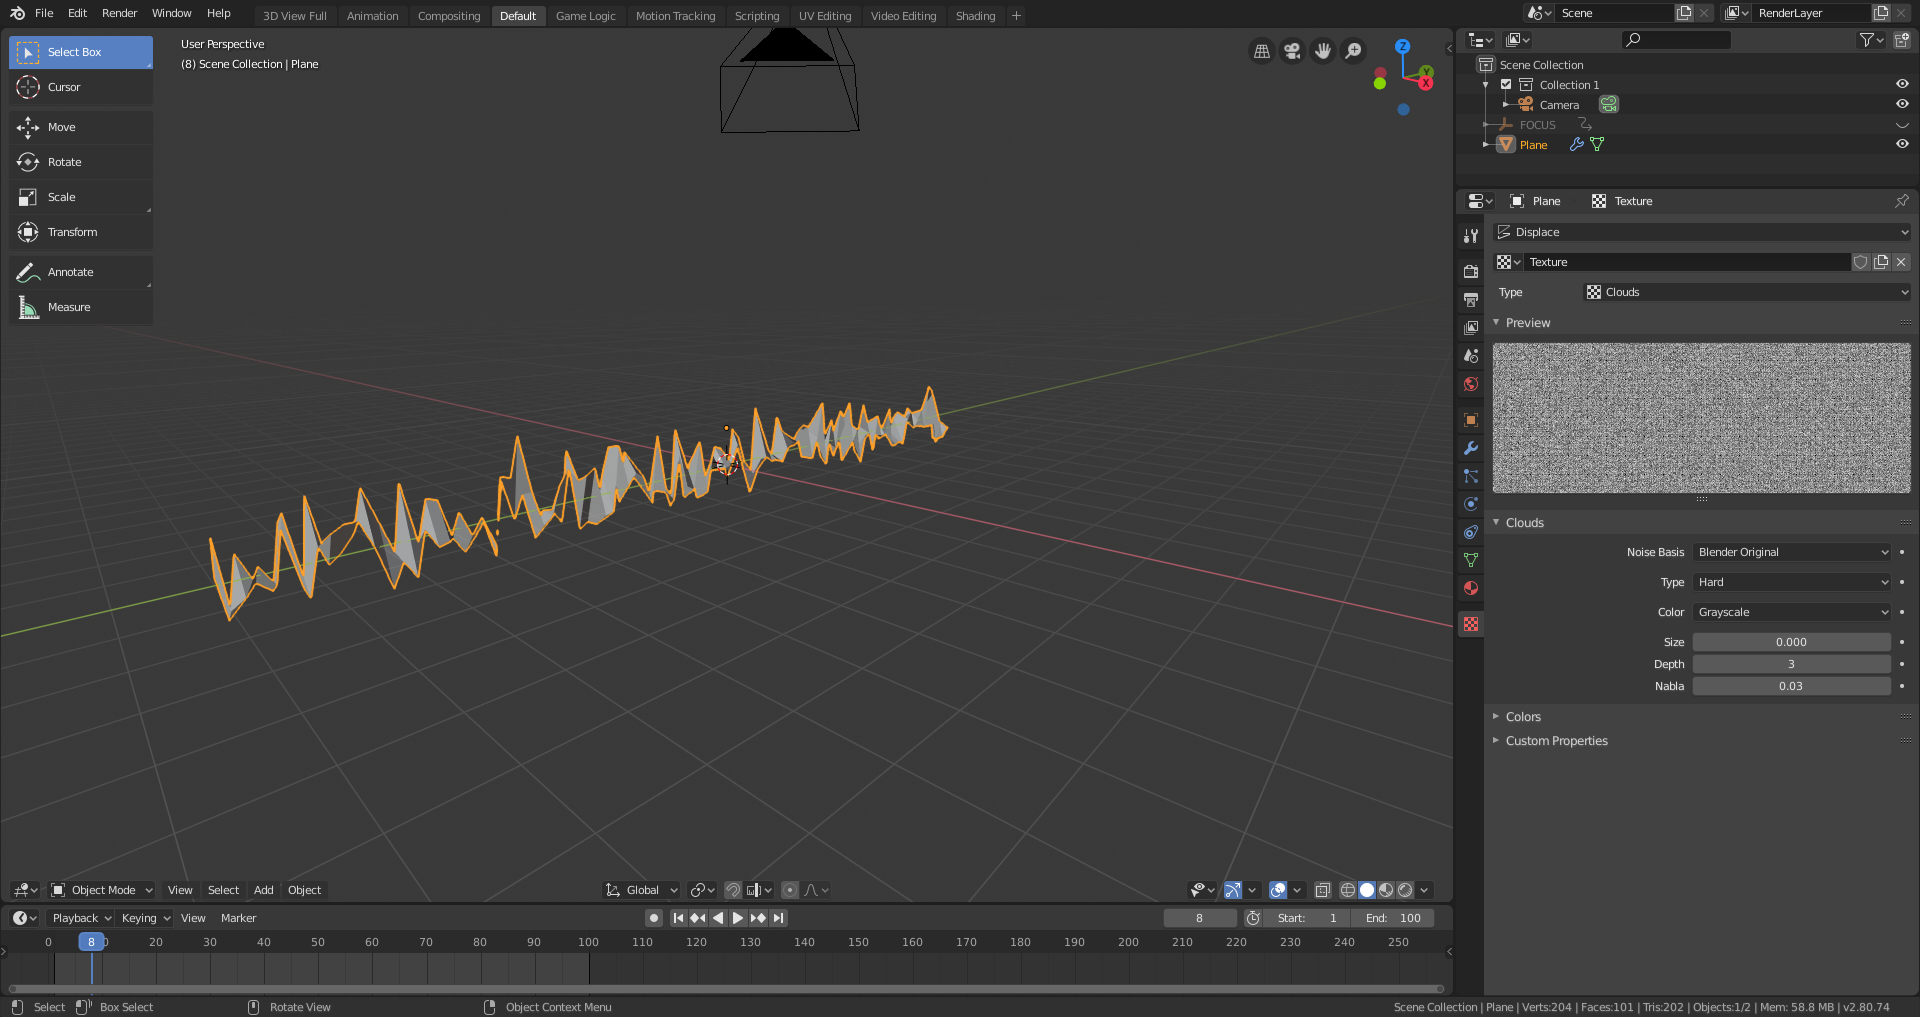
Change the texture type to “Clouds” and reduce the scale considerably.
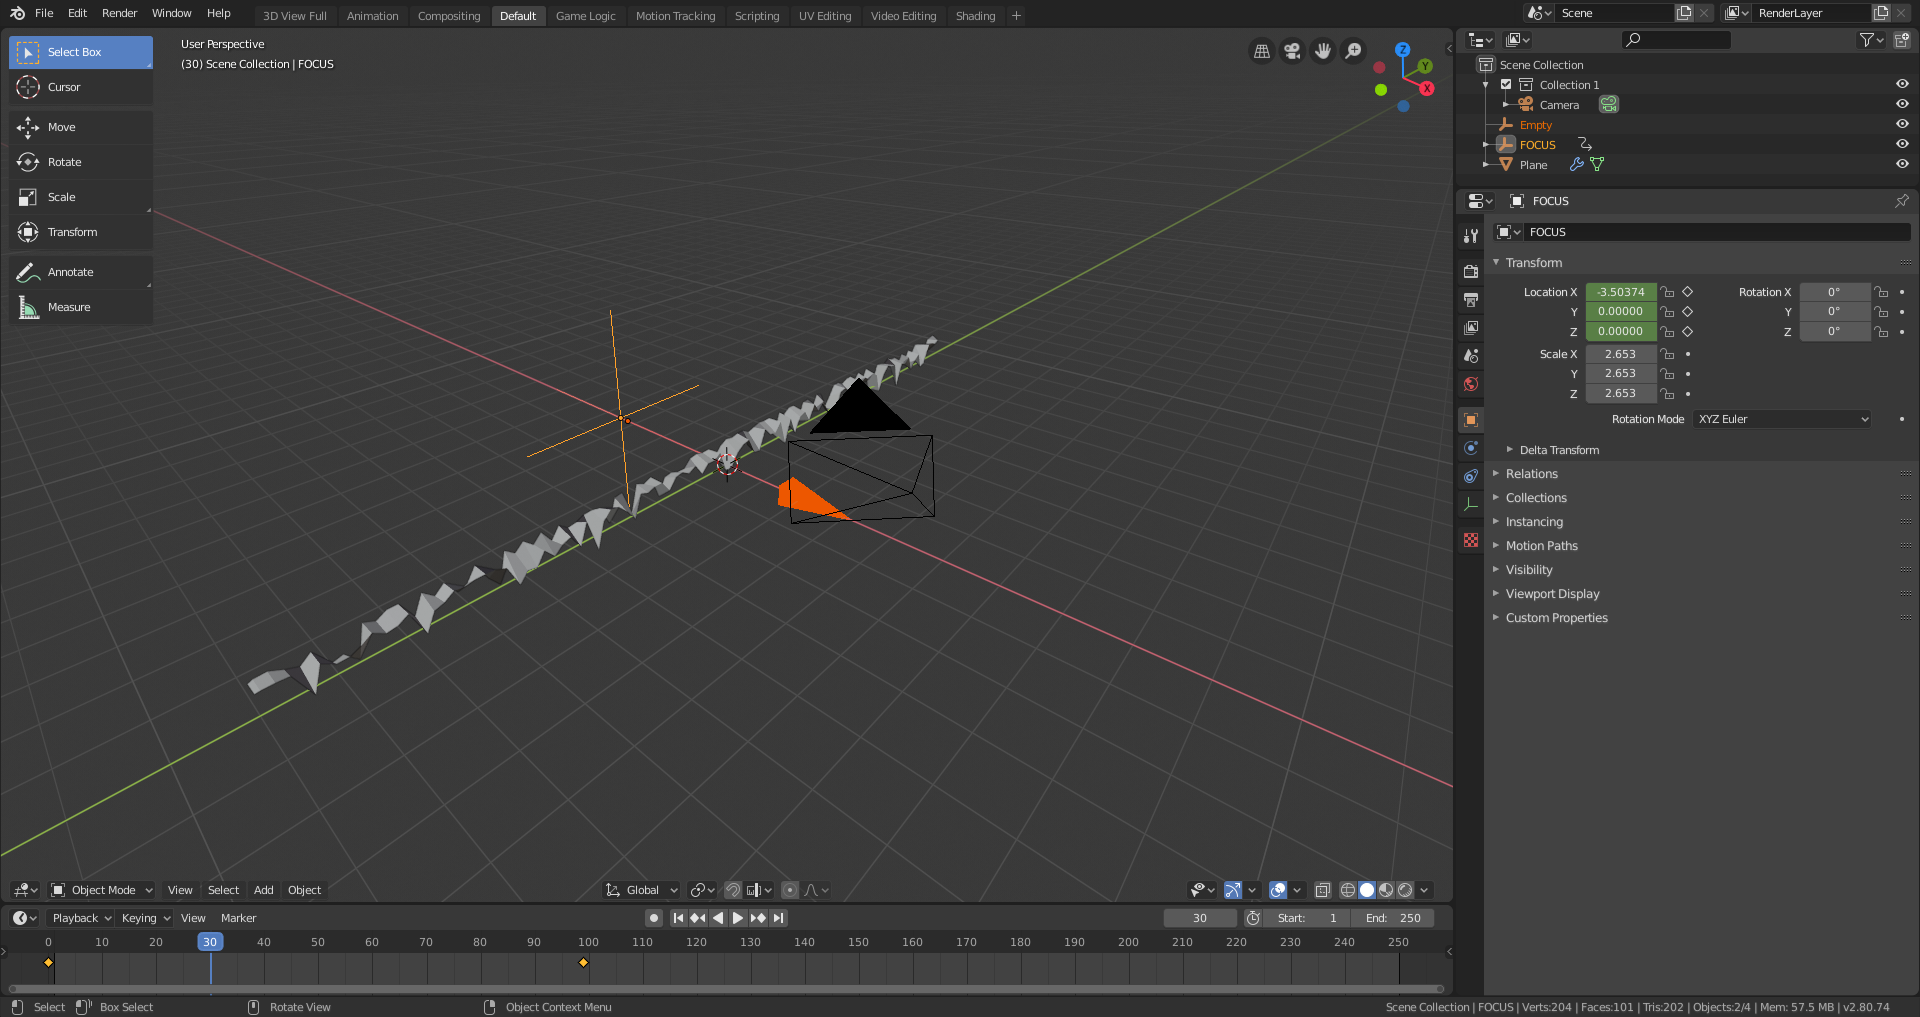
Step 5:
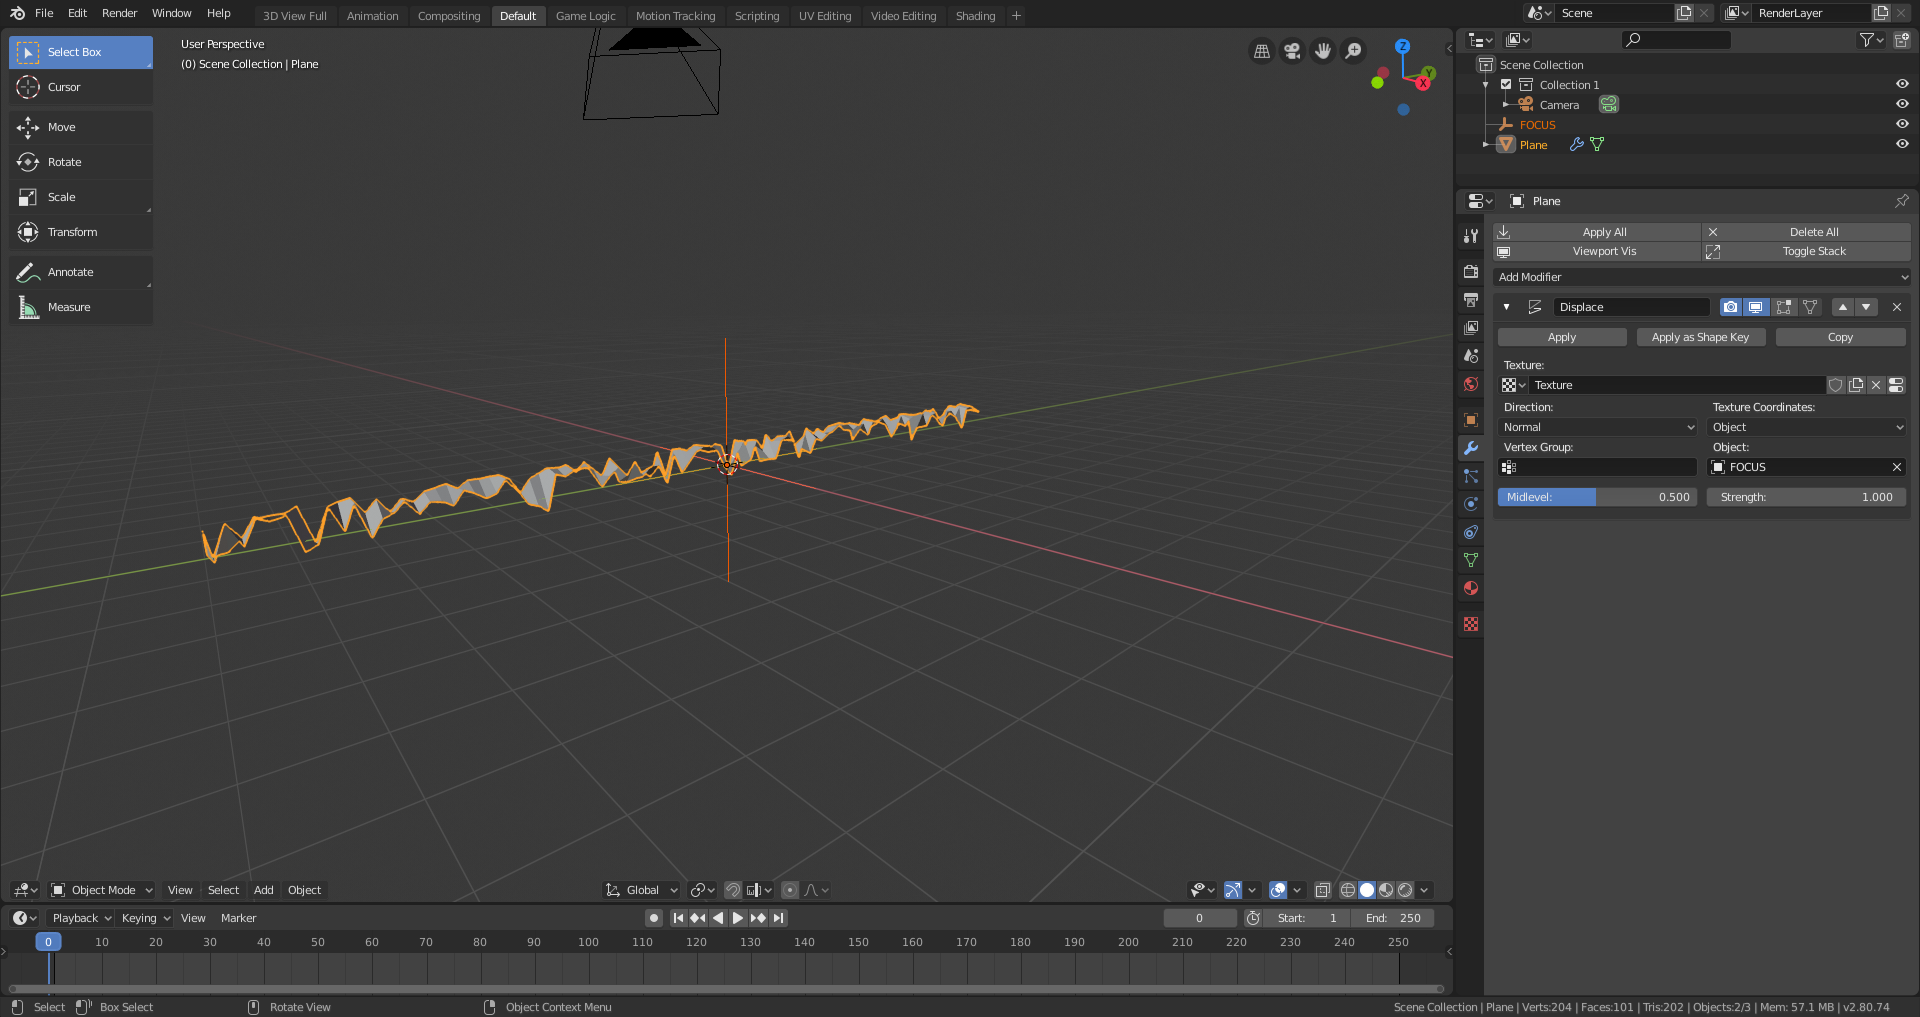
Change the texture coordinate of the distort modifier to OBJECT and make an empty. Assign it as the object around which the texture coordinate is calculated.
Step 6:
Animate the empty, by moving it on the X axis left of the beam, and press I > Location. Then, move to frame ~100 or however long you want the animation to be, and then move the empty to the other side of the beam (right side of the beam), and key frame the new location by I > Location again.
Step 7:
Add a simple emissive material, and set the colour and strength to something high. Make sure you have BLOOM on in the EEVEE settings (make sure you’re using EEVEE and not cycles!). Done!

EXERCISES FOR THE READER
- Add objects to the scene
- Animate the colour of the lightning
- Add particle effects
- Add depth of field