Composition and design are very complex topics that can have an immense impact on your art. They can change a boring looking render into a highly dynamic and interesting one. However, it’s not exactly a science, and rather difficult to quantitatively analyze, but I’ll try my best during this tutorial.
I’ll assume you completed part 1, where we develop a toolbox of atoms, isotopes, and molecules - simple geometric components to generate interesting scenes.
The video is structured to provide a quick introduction to the theory of composition, some practical tips, and then some “worked examples”, where we build a few scenes by using Blender’s built in composition guides and other useful features to layout our atomic toolkit from last week’s tutorial nicely.
The worked examples are shown below.
 Parallel structured elements, simple Harmonious Triangle
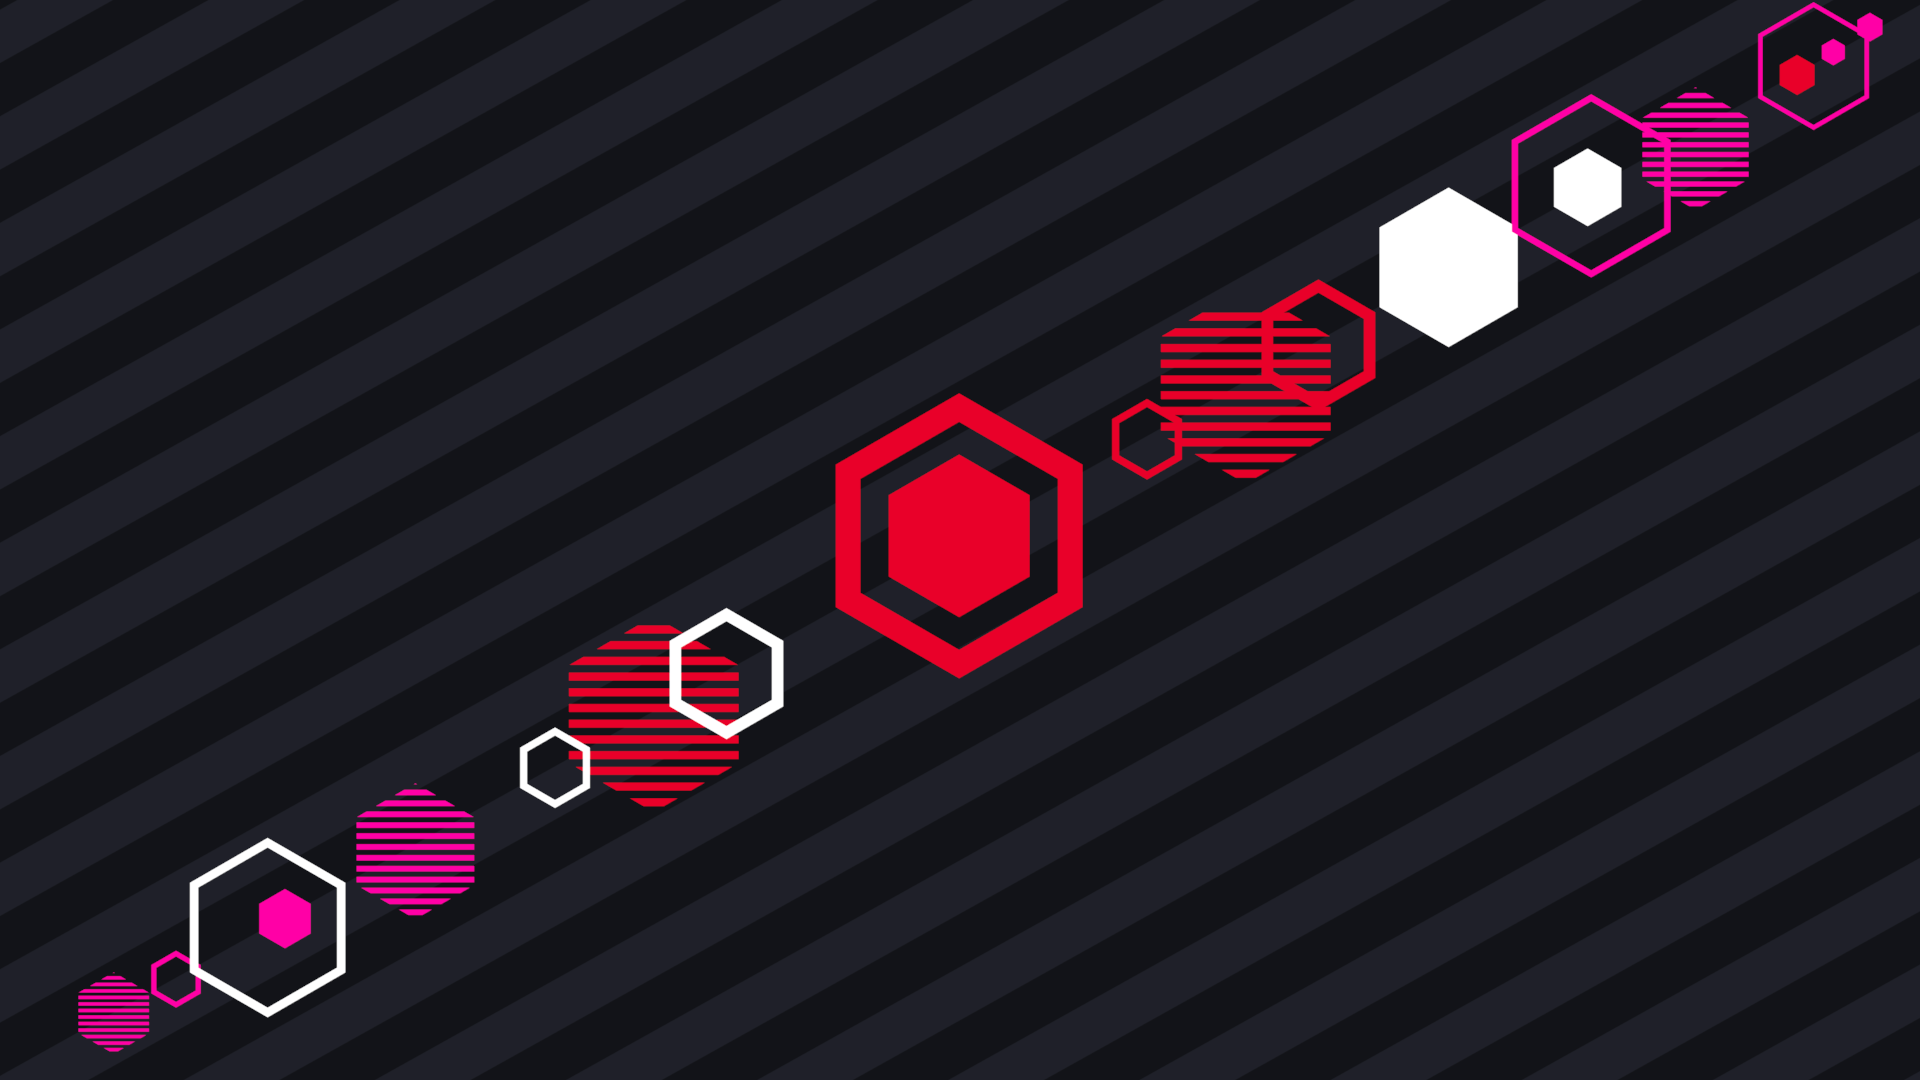
 Perpendicular structured elements, using Golden Ratio
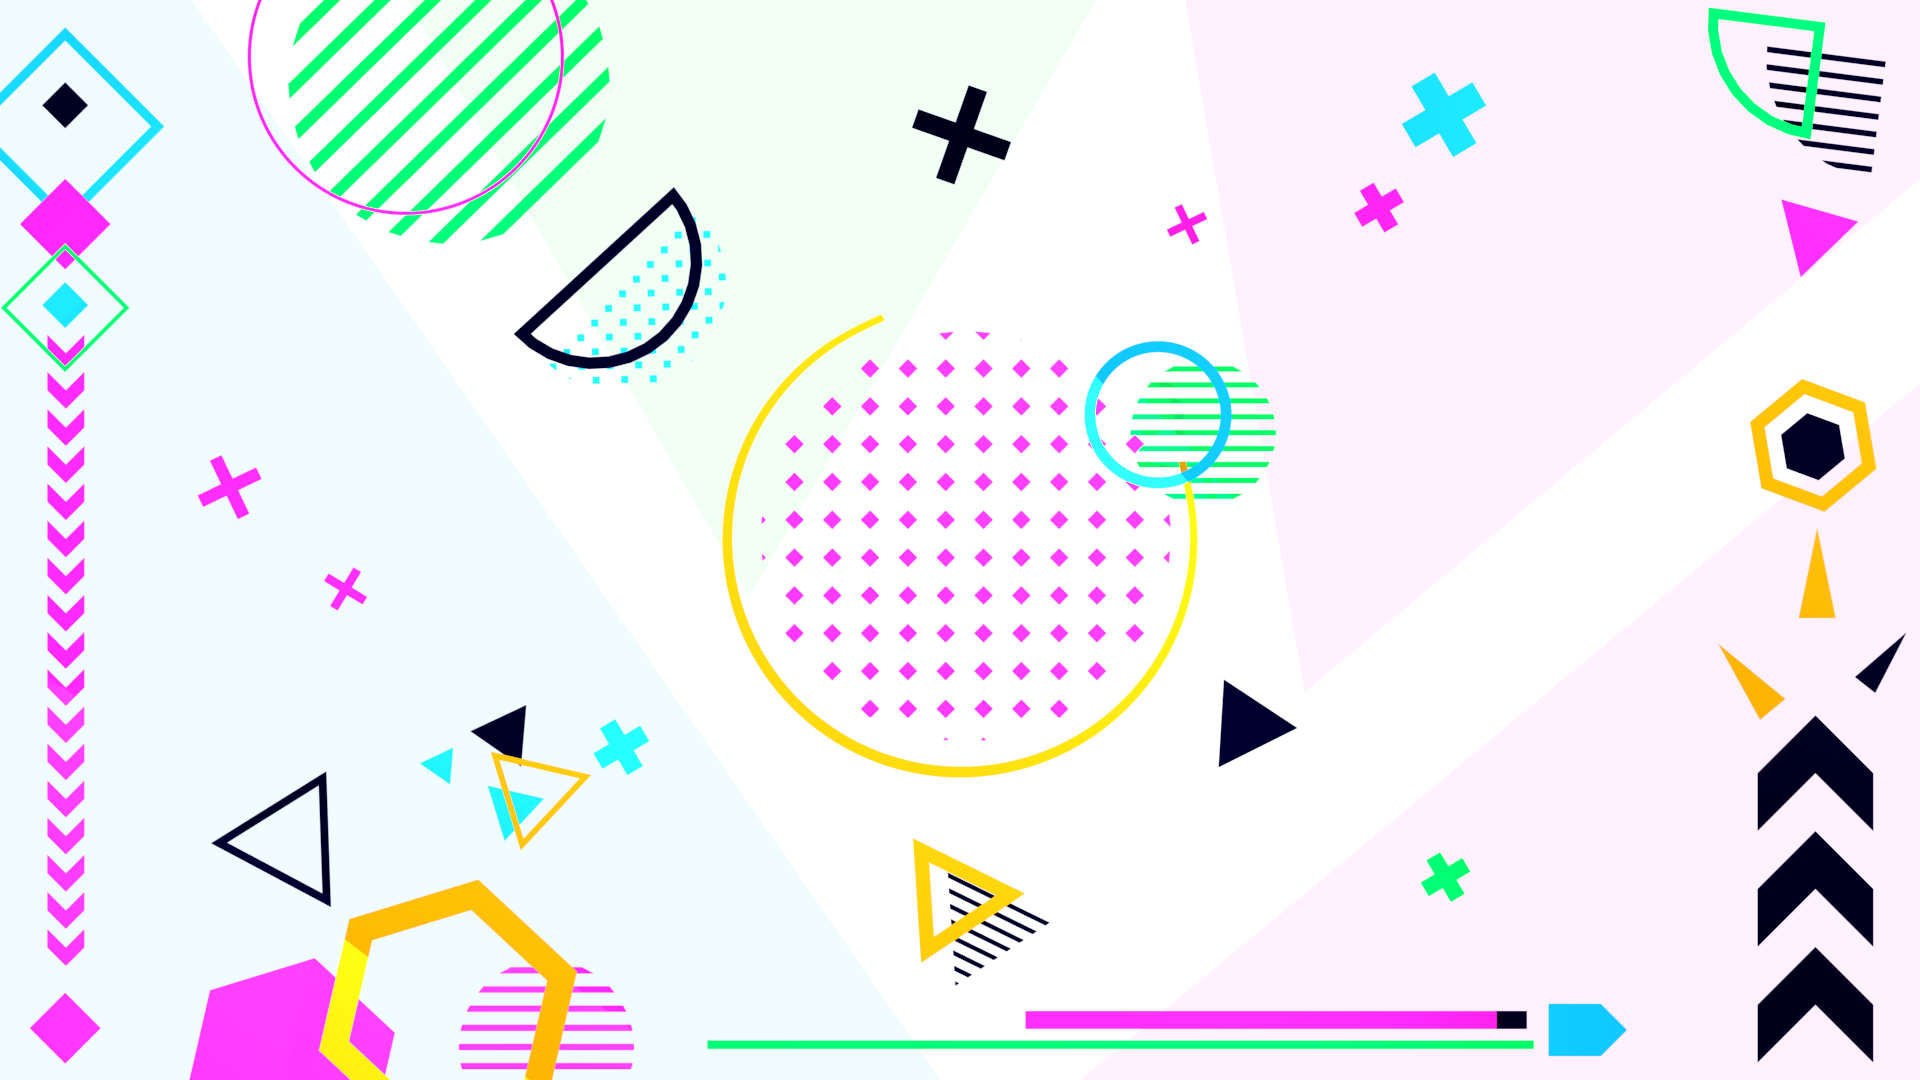 Complex scattering with focal point emphasis, Golden Ratio
Walkthroughs to creating these renders are in the second half of the video!
To continue with the chemical analogy, I’d call this part of the series something like Stoichiometry, which involves the “composition” of elements in a reaction, but that might be unnecessarily confusing, so I’ll just call this design/composition for now :)
Video Tutorial
Text Summary
Last week, we designed atoms, isotopes and molecules, which were the basic building blocks of geometric motion graphics, but we didn’t explore their design significance. We can look at them from six perspectives, and use those to inform our art.
The first is line. Many of the elements we made last week were built on linear, often directional elements suggesting a way in which they would naturally move, and these parts serve as paths for the eye, allowing the artist to direct the viewer’s attention throughout a piece.
Then we have colour, subdivided into brightness, hue, and saturation, or the intensity of a hue. Colour is a very complex topic, and I won’t emphasize it here, but has a lot of potential for use. Generally, I’ll be using a colour randomizer over a small palette, or a basic tone-shadow mix, which you can see at the end of the previous video.
Texture conveys a tactile feeling to the viewer, and we should think about how to use smooth, curved elements against sharp, jagged ones depending on the tone we want to convey. It’s also important to have some consistency in texture, or else the work can be come too noisy, so I tend to stick to angular or curved elements, but not both.
Value suggests light and shadows, and since we’re using Blender we can actually use virtual lights to create virtual shadows, so we won’t be considering this one much.
Form is about the shape, dimension and body of an element, and we’ve introduced several isotopic variations by altering the thickness and fill of our basic atoms.
Space, particularly in its positive and negative parts, can be used with lines to really frame a piece and suggest the important and unimportant details. We can use Blender’s composition guidelines to help define our use of space, as I’ll explore later.
Some helpful practical guidelines:
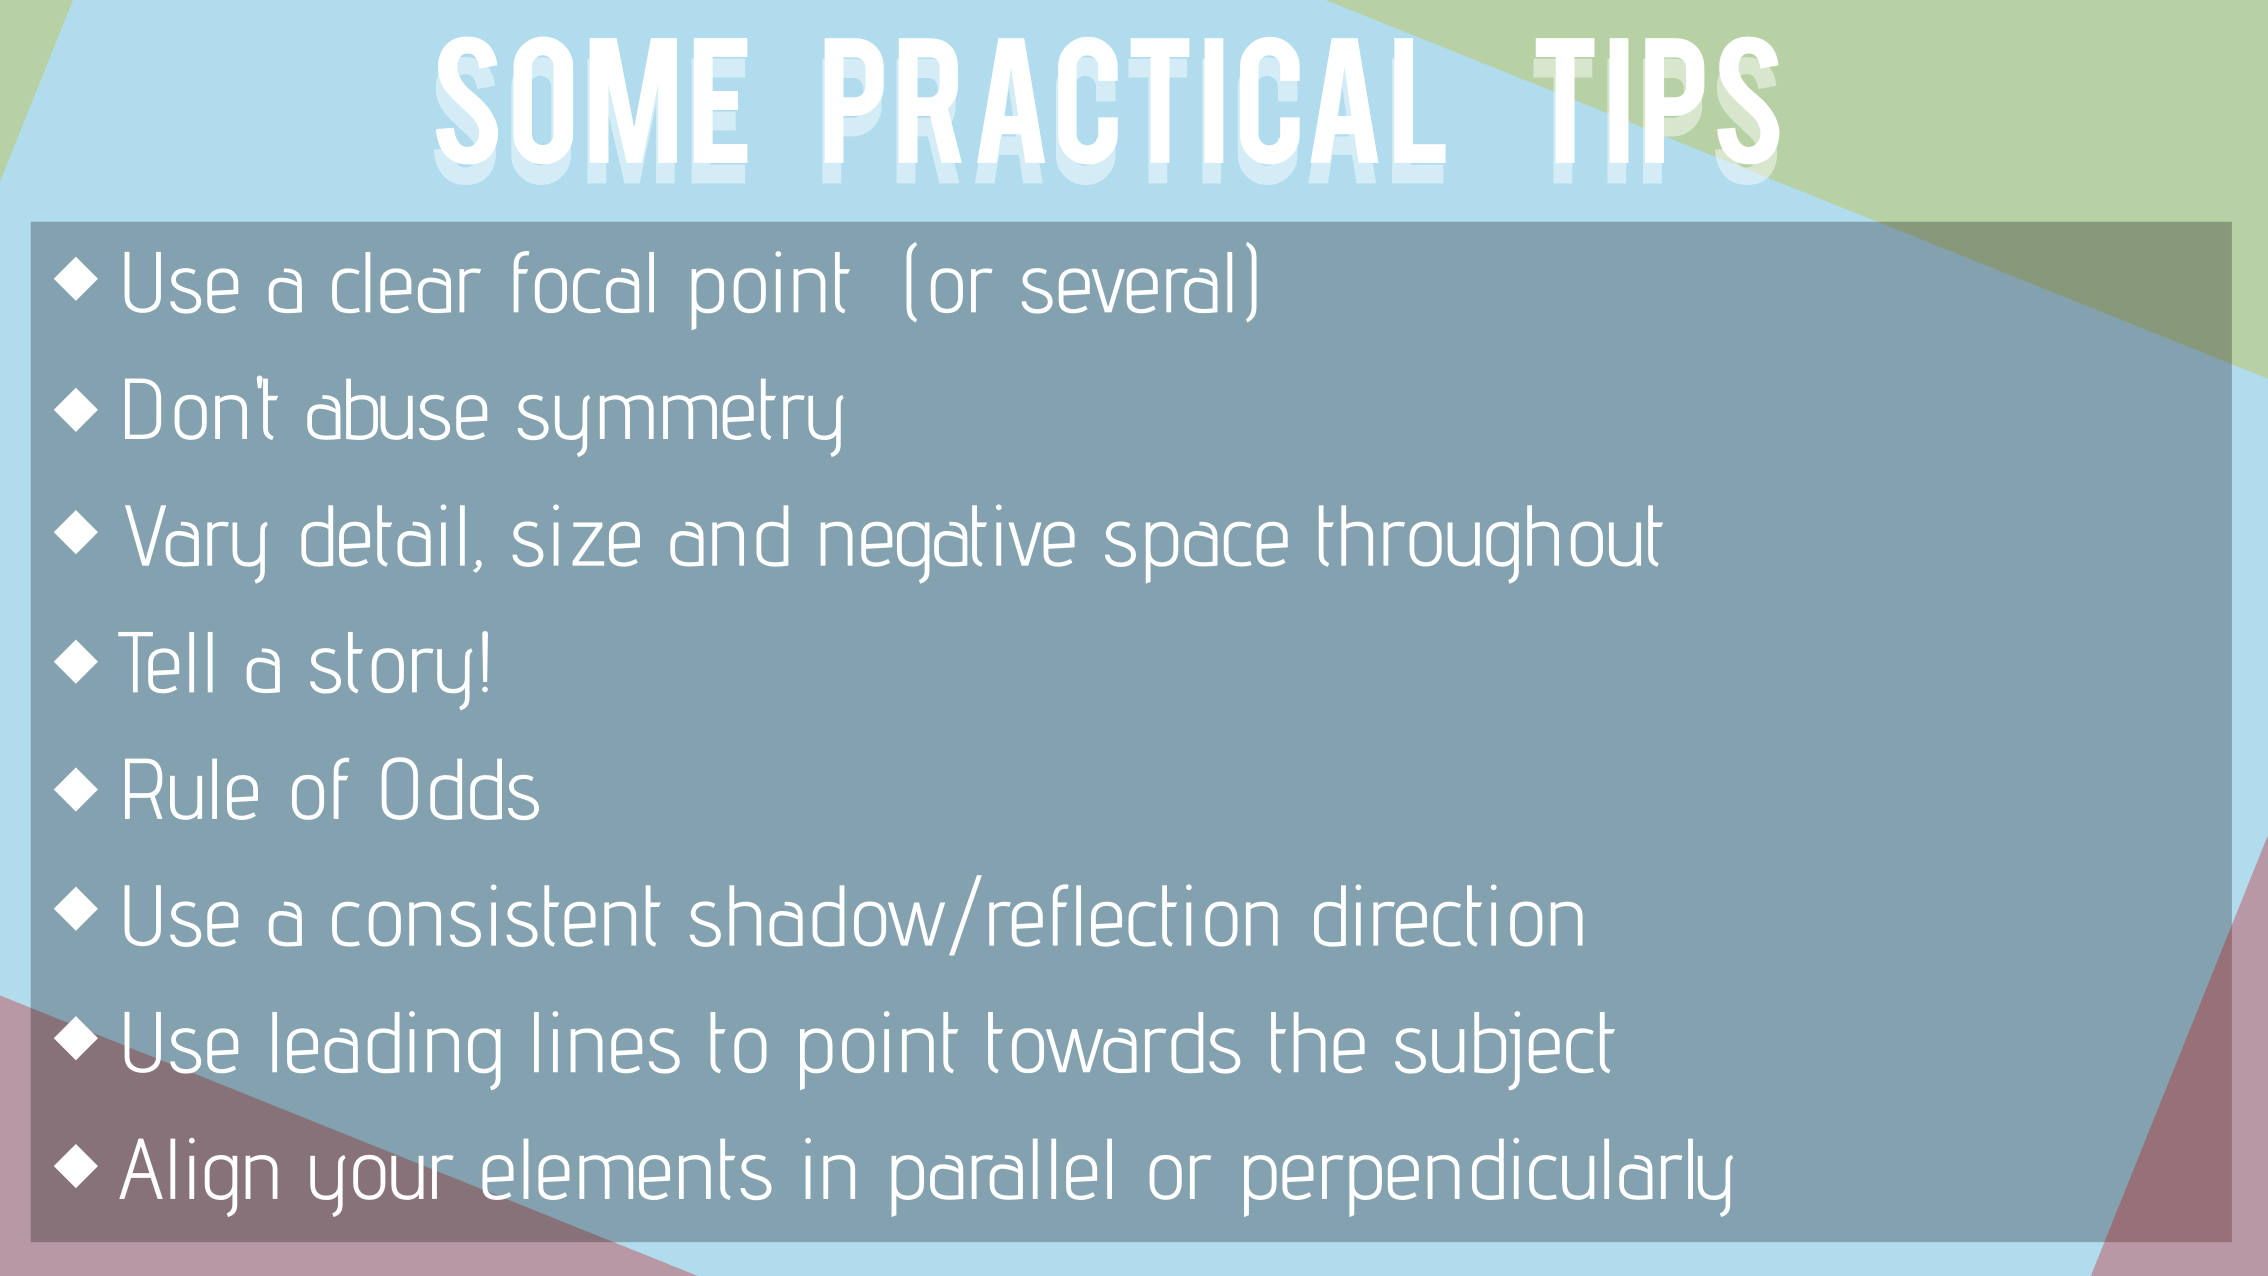
As text: - Use a clear focal point (or several) - Don’t abuse symmetry - Vary detail, size and negative space throughout - Tell a story! - Rule of Odds - Use a consistent shadow/reflection direction - Use leading lines to point towards the subject - Align your elements in parallel or perpendicularly
Using Composition Guides in Blender
Finally, how to set up composition guides. Select your camera, and in the properties panel (right side), go to the camera-iconned tab, and select viewport display > composition guides > Choose one!

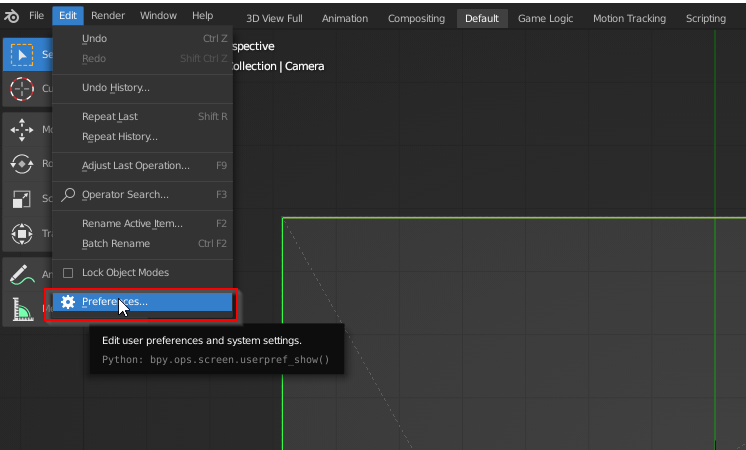
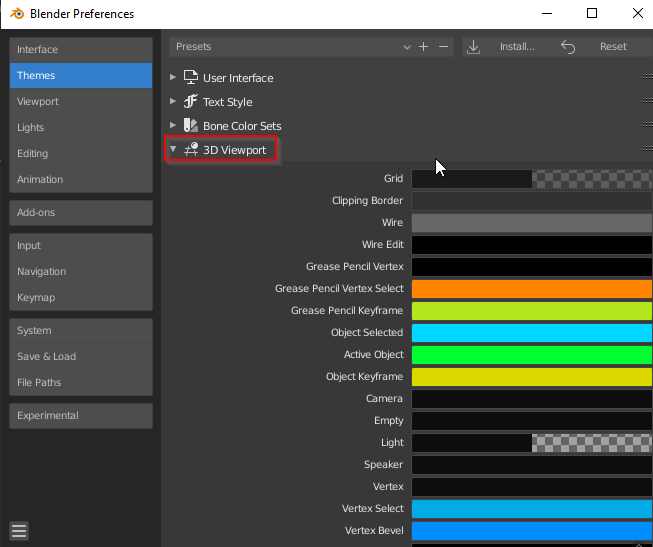
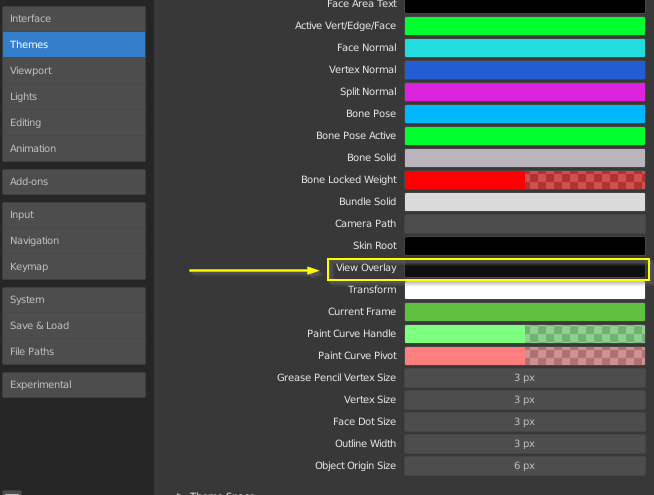
To change the colour of the guides, go to Edit > Preferences > Themes > 3d Viewport > View Overlay (Scroll all the way down!)
Conclusion
Thank you for reading this short article! Next time, we’ll be working on the reaction kinetics, and setting things in motion! I’m particularly excited about this next part, as I think it’ll be the most interesting. I found some really cool connections between animations and 2d rigidbody analysis, and I think you’ll find it as a helpful step for animating motion graphics!