Making motion graphics effects in Blender is a lot of fun, and can lead you to create some pretty cool effects. Since motion graphics are typically done in 2D, having Blender’s 3D tools provides an extra layer of functionality to many effects you might want to make, and allows us to construct some effects fairly quickly and easily.
I’ve already made one tutorial on animated motion graphics in Blender, which goes over non-text effects like spirals, starbursts and pops.
Video Tutorial
Video Timestamps
(By the way, I made these names up. Let me know if you find a better name!)
0:00 - Centre Background-Handle reveal
6:08 - Centre Rail-Handle reveal
11:44 - LTR Slideover reveal
15:29 - LTR Sidepanel reveal
Text Summary
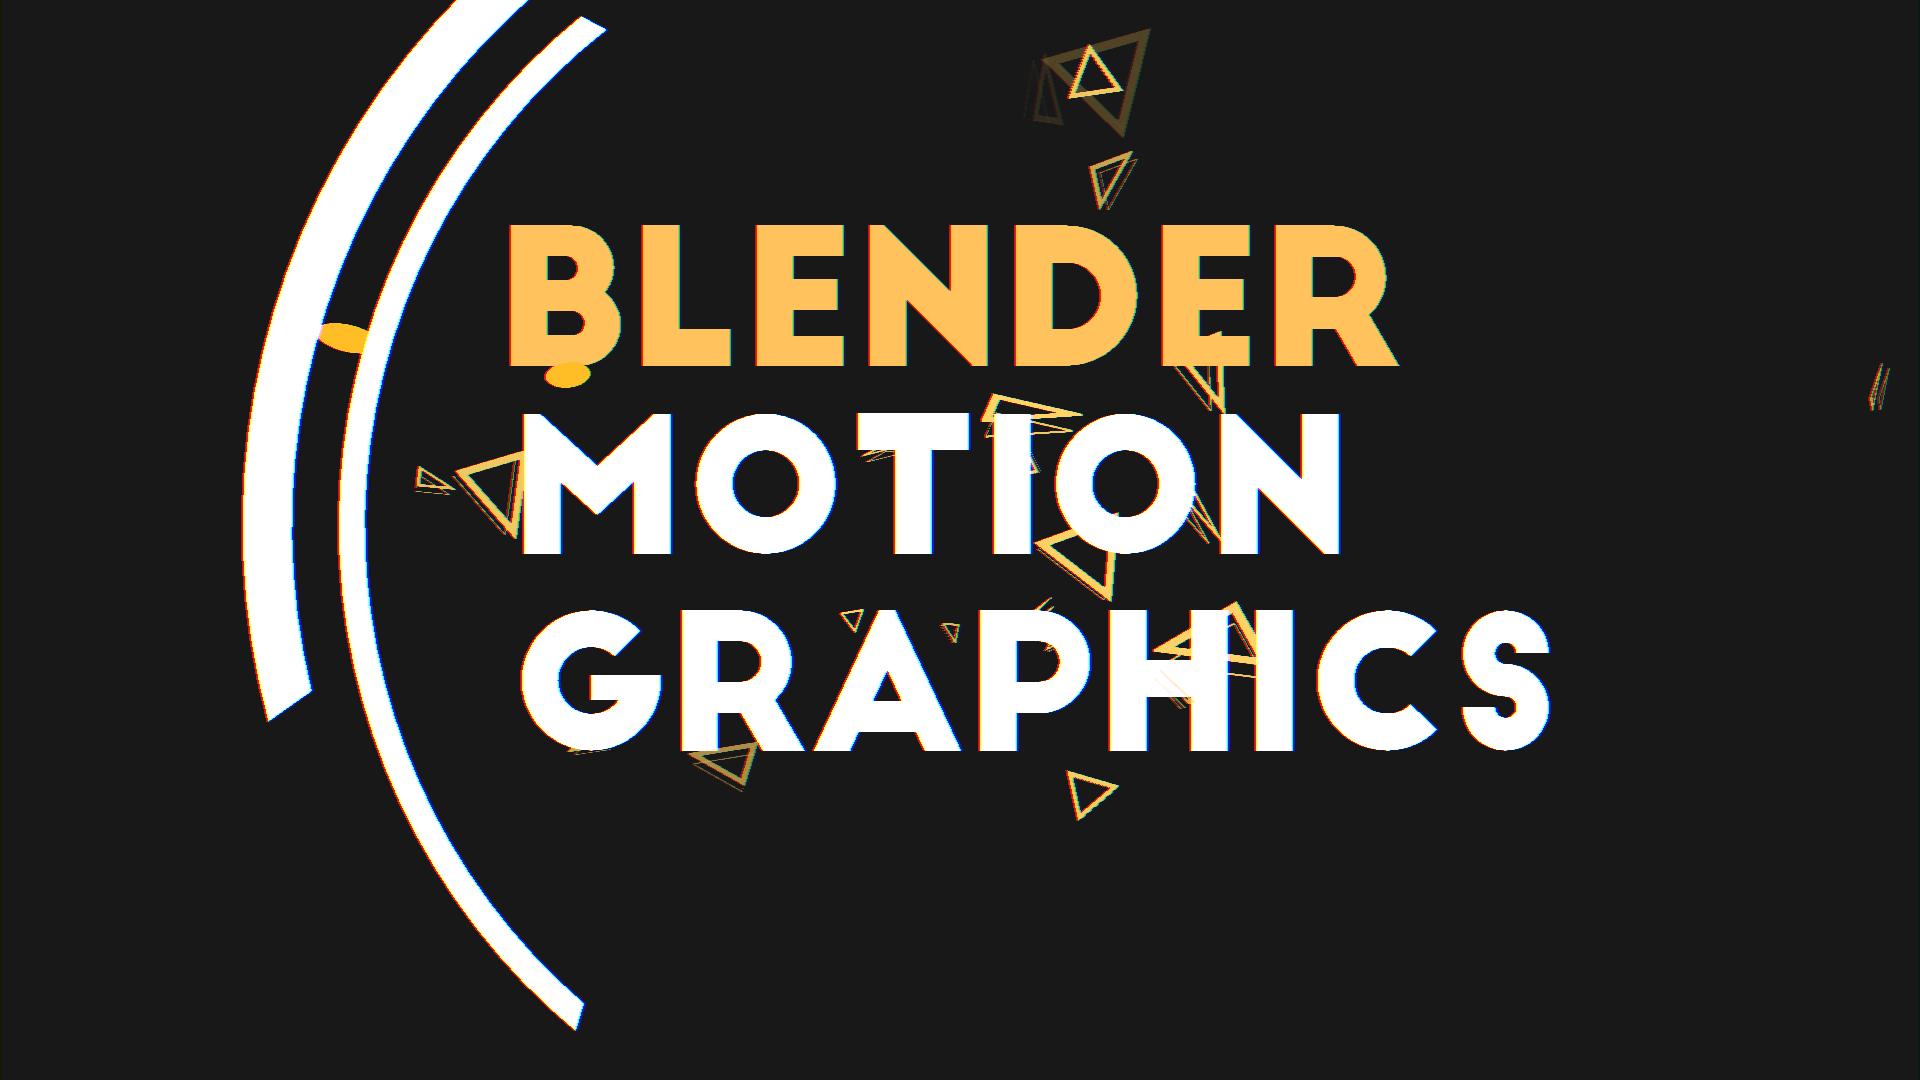
From a high level perspective, you’ll find that making these motion graphics effects is like making small 3D machines to creatively show, hide, and move text and geometry. Here’s what our four effects look like: K
WARNING: As usual, these text summaries are for more experienced Blender users. If you’re finding them hard to follow, please view my video instead, as it is much more thorough. These summaries are intended to get across the high level concepts and skip over minute implementation details.
From top to bottom, we’ll be making (These are different from the timestamps, but easier to visualize): 1. Background Dots Reveal 2. Rails Reveal 3. Foreground Overlay Reveal 4. Sidebar Reveal
Scene Configurations
- Set the camera in top view, by hitting numpad7 then ctrl+shift+numpad0. There are other ways if you don’t have a numpad, please search for them on the interwebs.
- Set the camera in orthographic mode
- Set the background to transparent in the Render Options > Film > Transparent (It’s a checkbox)
- Make sure you’re in the EEVEE render engine.
The Effects
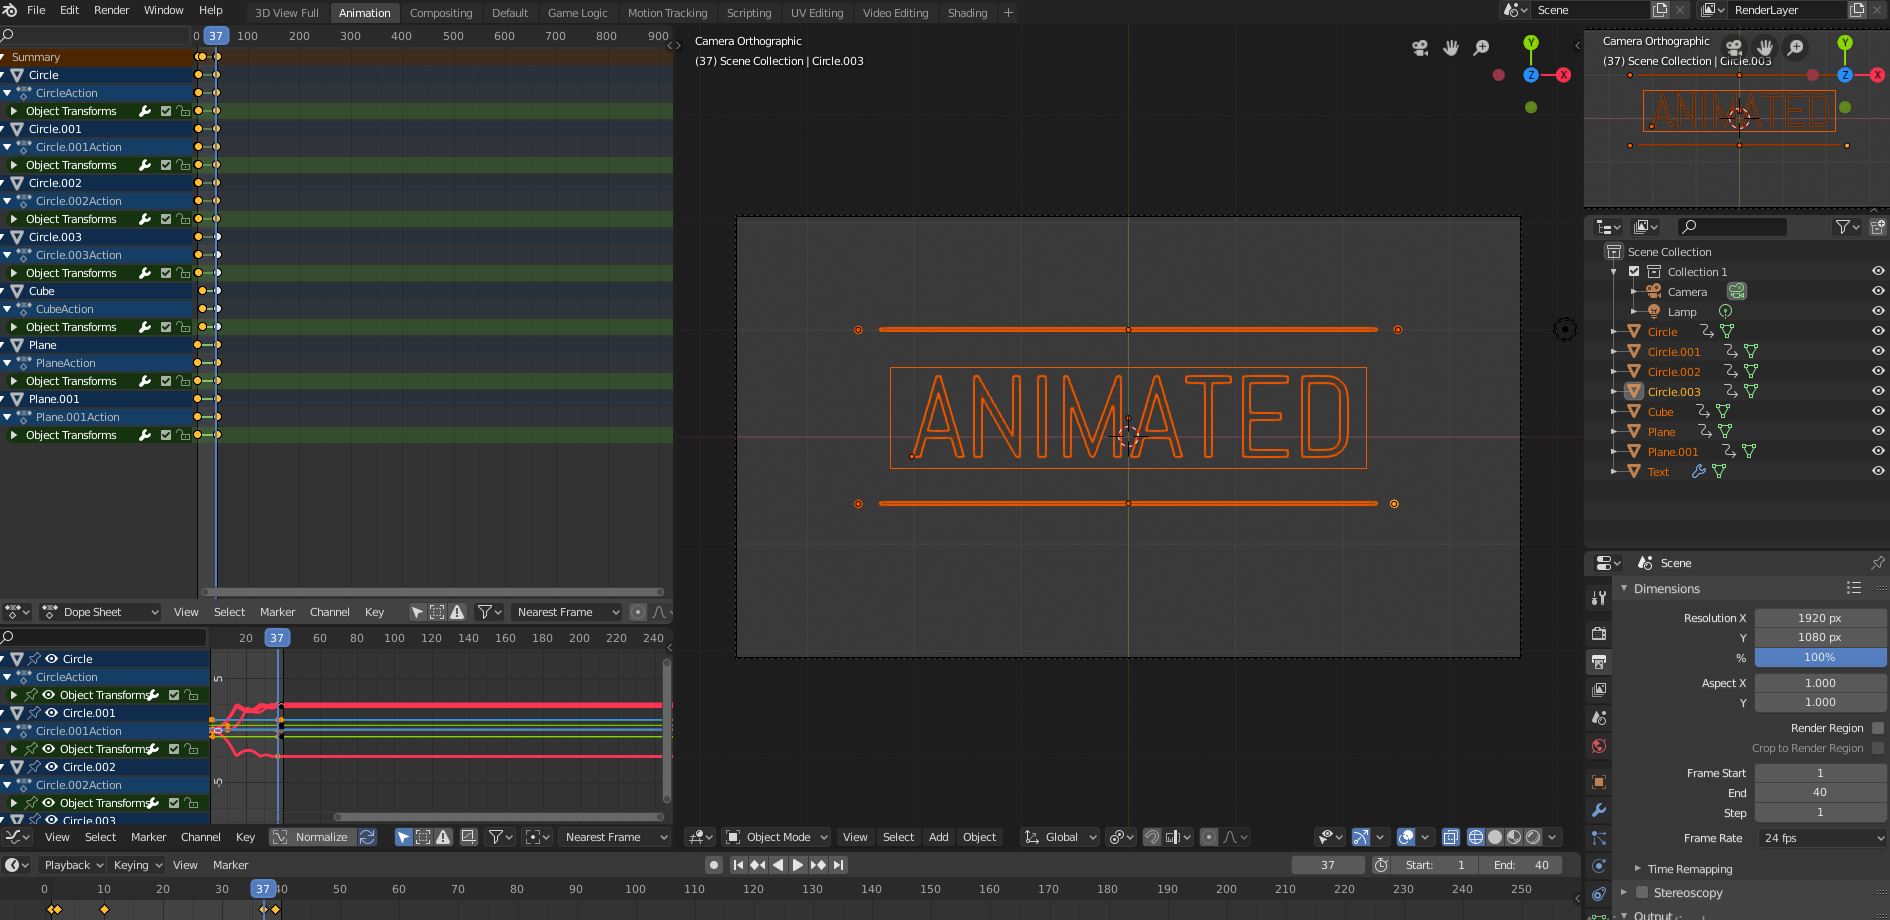
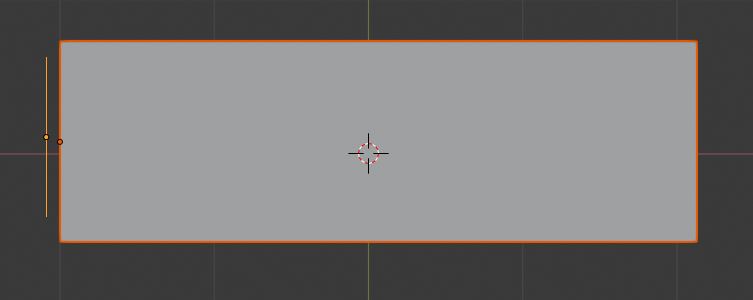
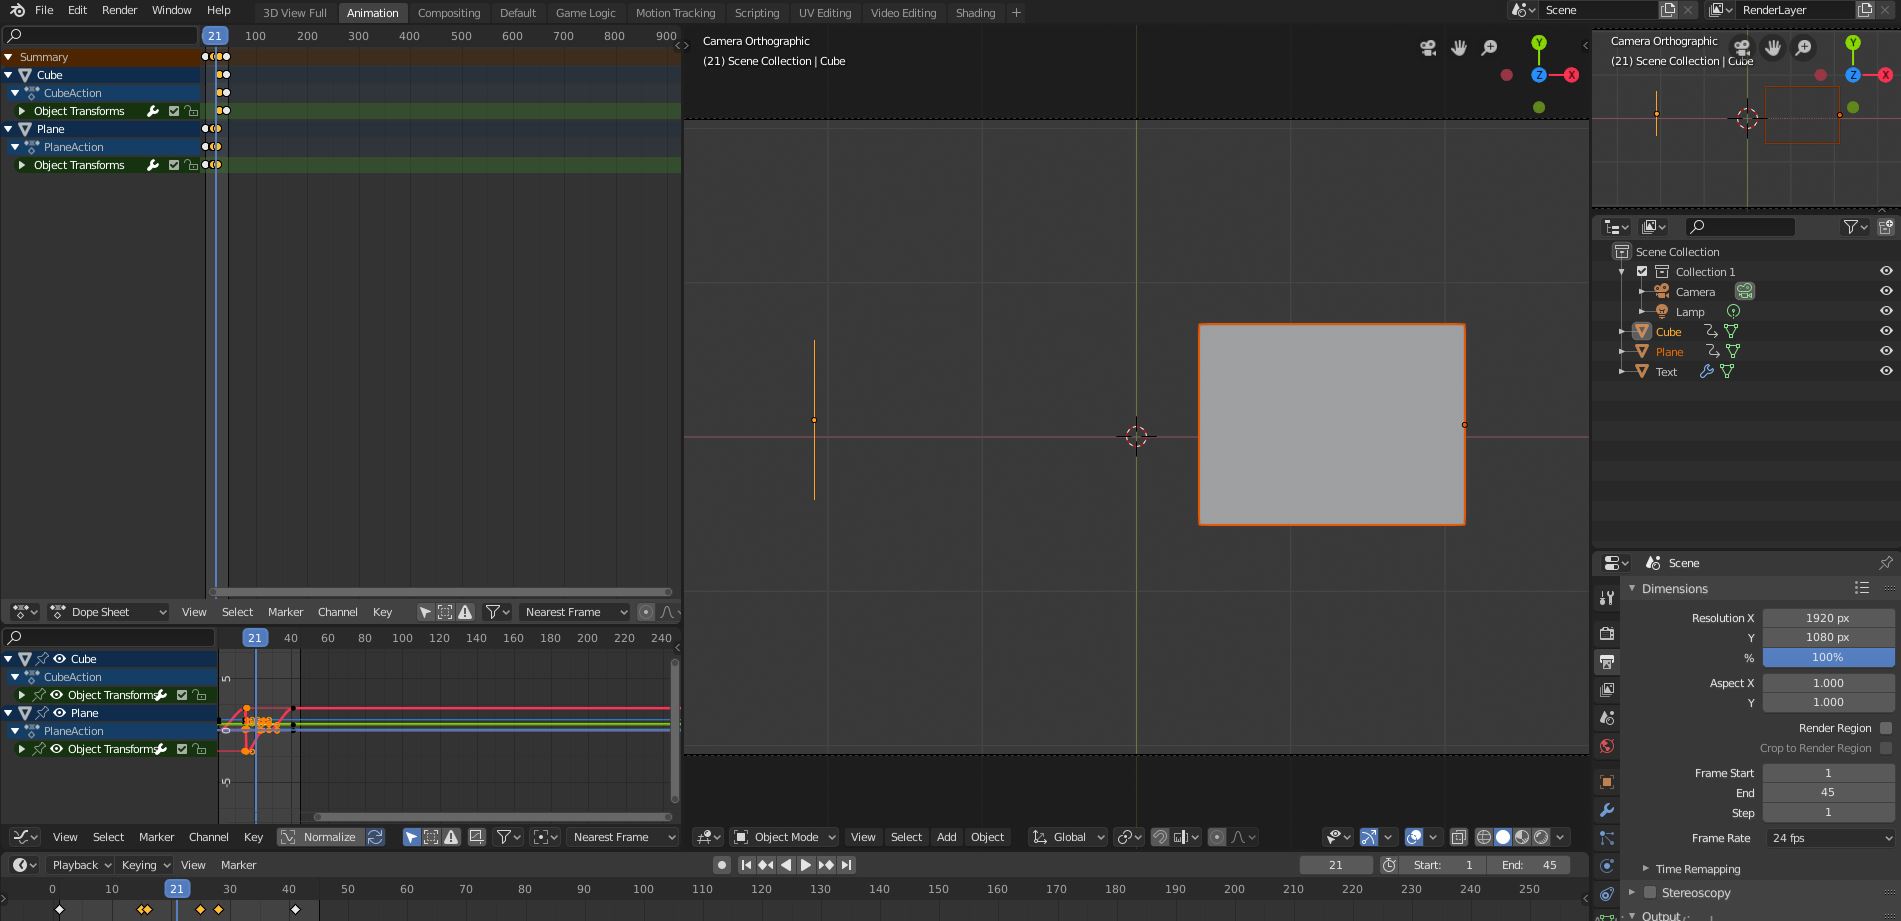
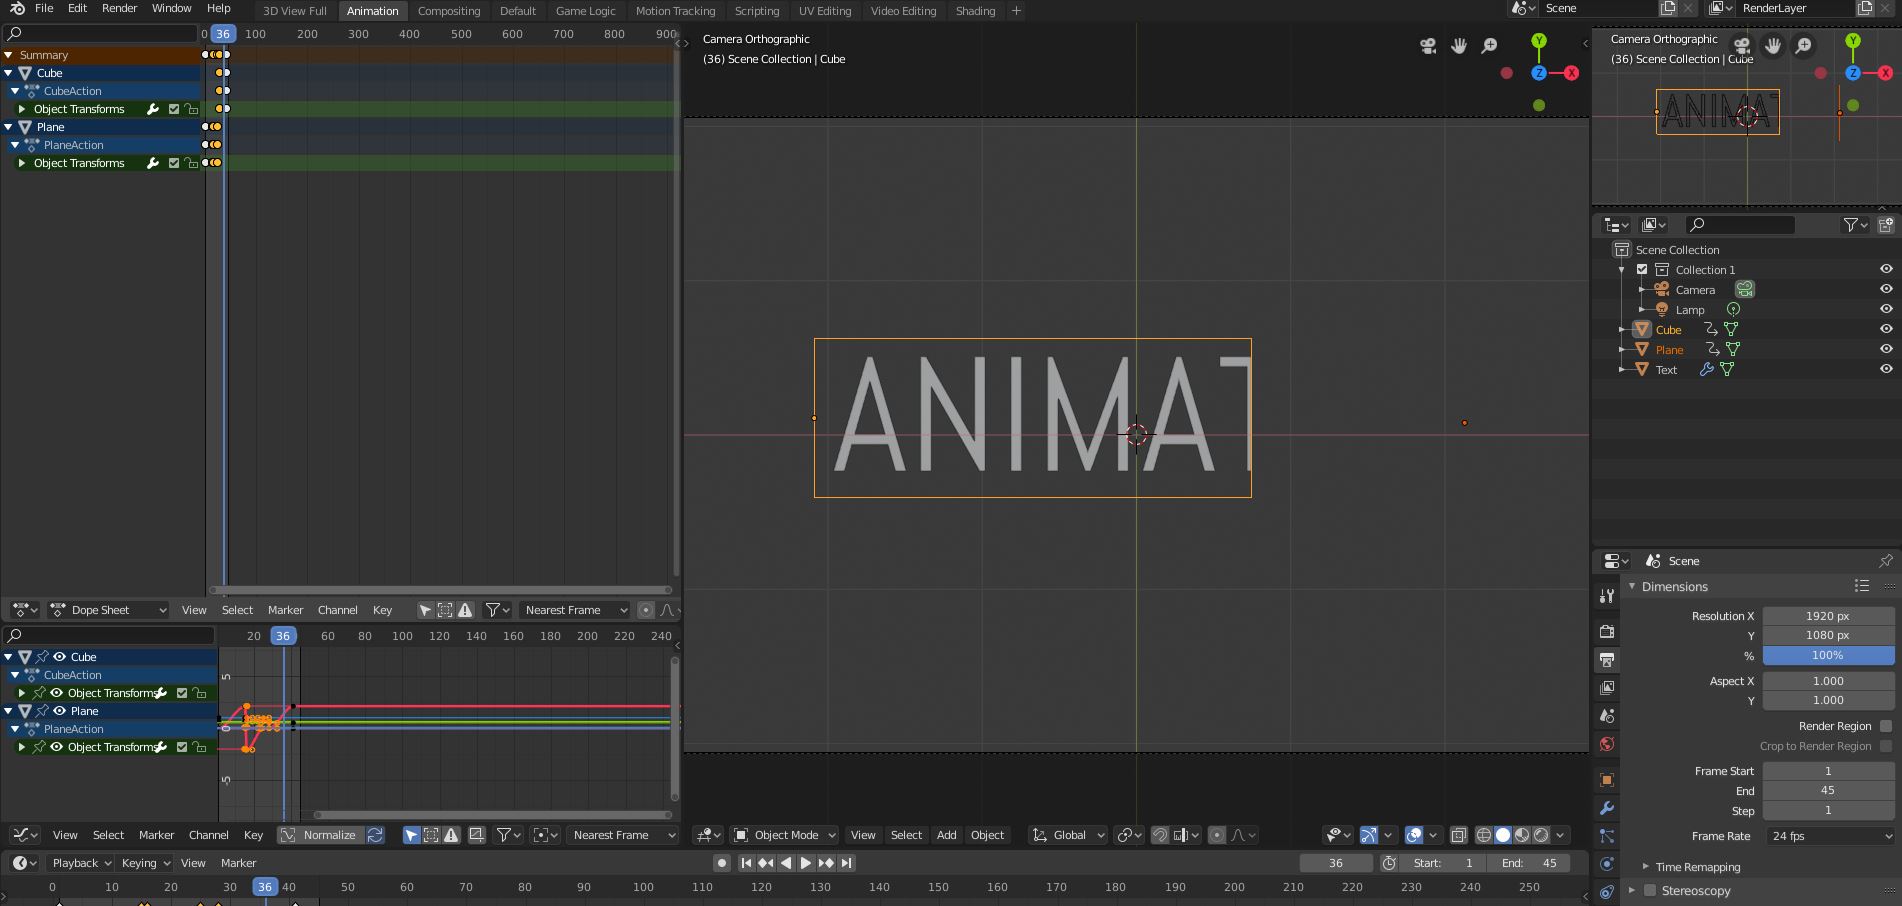
Our first effect is the background dots reveal. Physically, we’re simulating a sort of stretchy background that has some text on it, and we’re using some diamond shapes as handles.
On a more abstract level, we’ll be using a boolean intersect brush (make sure you have the booltools) addon installed, and using that to selectively reveal parts of our text by scaling that brush. We may have to move the origin of the brush to one side or another (for side reveals, not centre reveals), and this will be covered further on. In the background, we’ll have other effects like a panel opening, done by keyframing simple transformations like scaling (X axis) or translations, like the movement of the handles.
To set up the intersect, remesh the text as described below and then select an enveloping cube, then the text (as the active object), hit CTRL+SHIFT+B, and then you will be able to play with the cube in order to selectively hide and show the text.
If there’s some weird effects when you set the scale of the enveloping cube to zero, change the scale to 0.0001, and if huge parts get revealed at once, instead of piecewise, refer to the remeshing section.
Here’s a look at some critical frames in the animation.
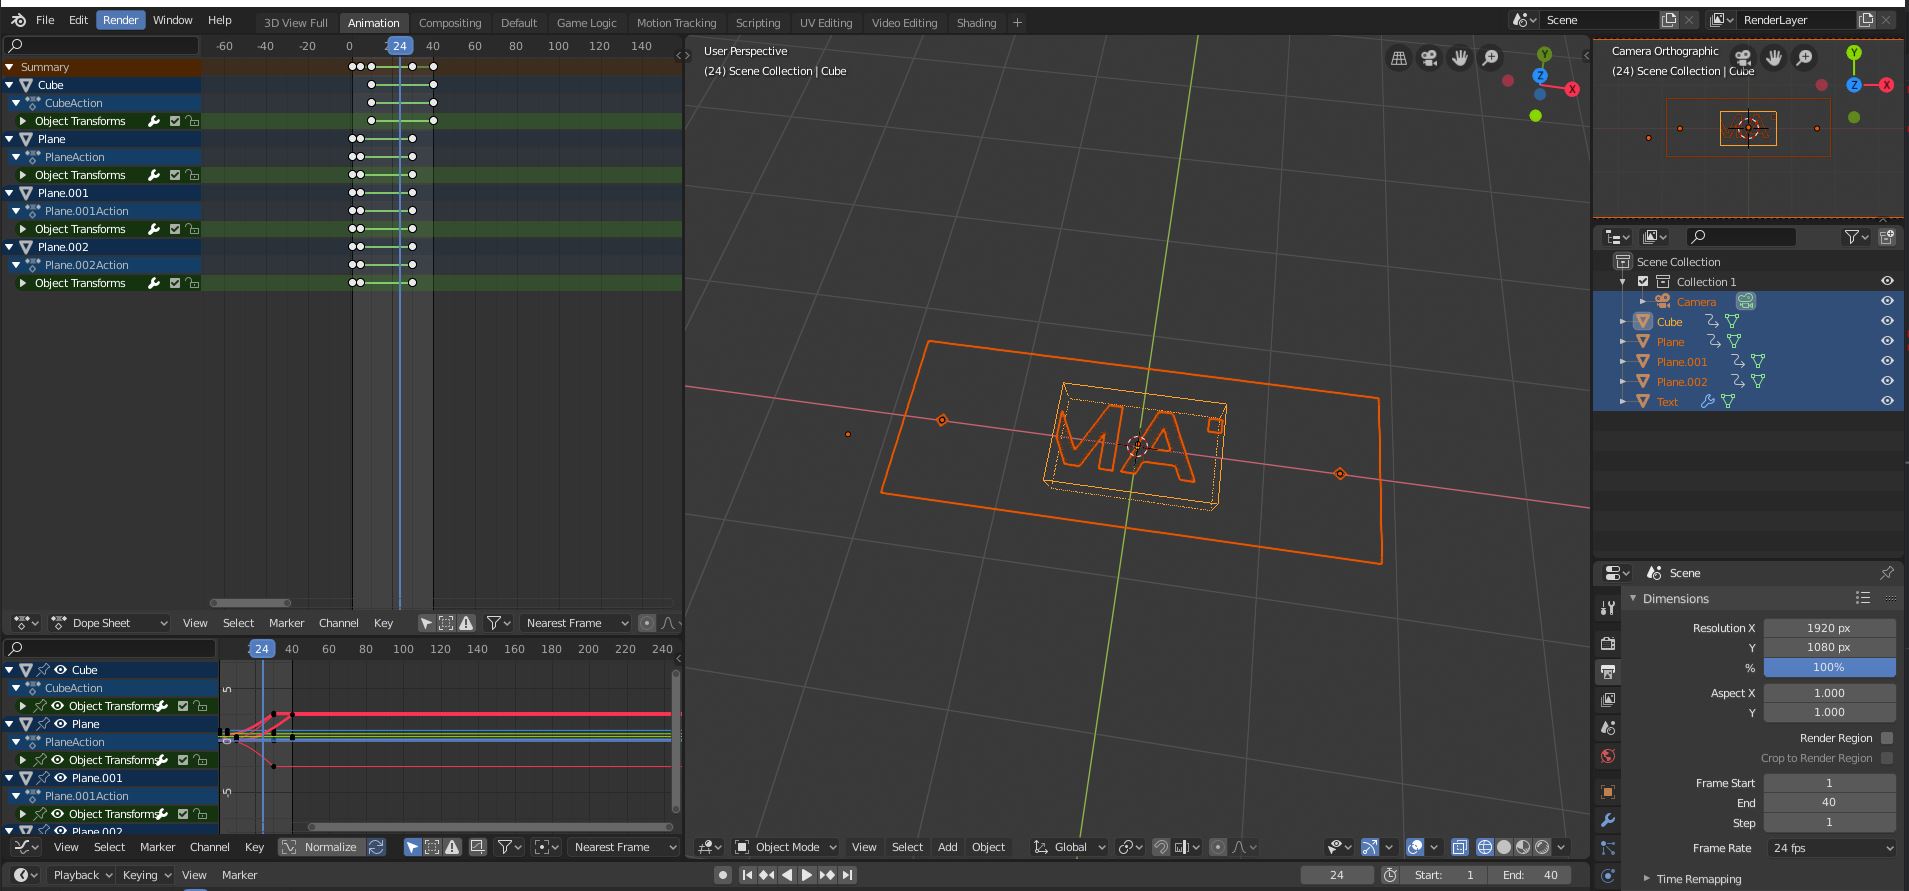
An important point is the offset the background panel opening (done by keyframing scale on X from 0 to the final scale), and the text boolean cube scaling.
Text Remeshing!
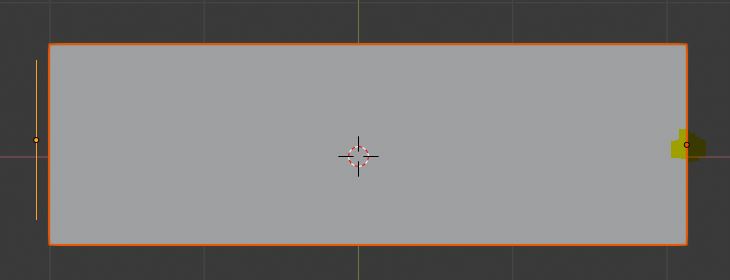
Another important point is on the way we use boolean modifiers on text. First, we must convert the Text object to a Mesh (under the Mesh > Convert to Mesh from Curve/Text). Then we need to give it some volume (so we can extrude it up by a little bit), and then critically, remesh it to a high resolution (Recommended Octree depth: 8). If you do not do this, the geometry of the converted text may behave very badly with the BoolTool, and you will not have a good time.

You can see this text has some thickness and the applied modifiers.
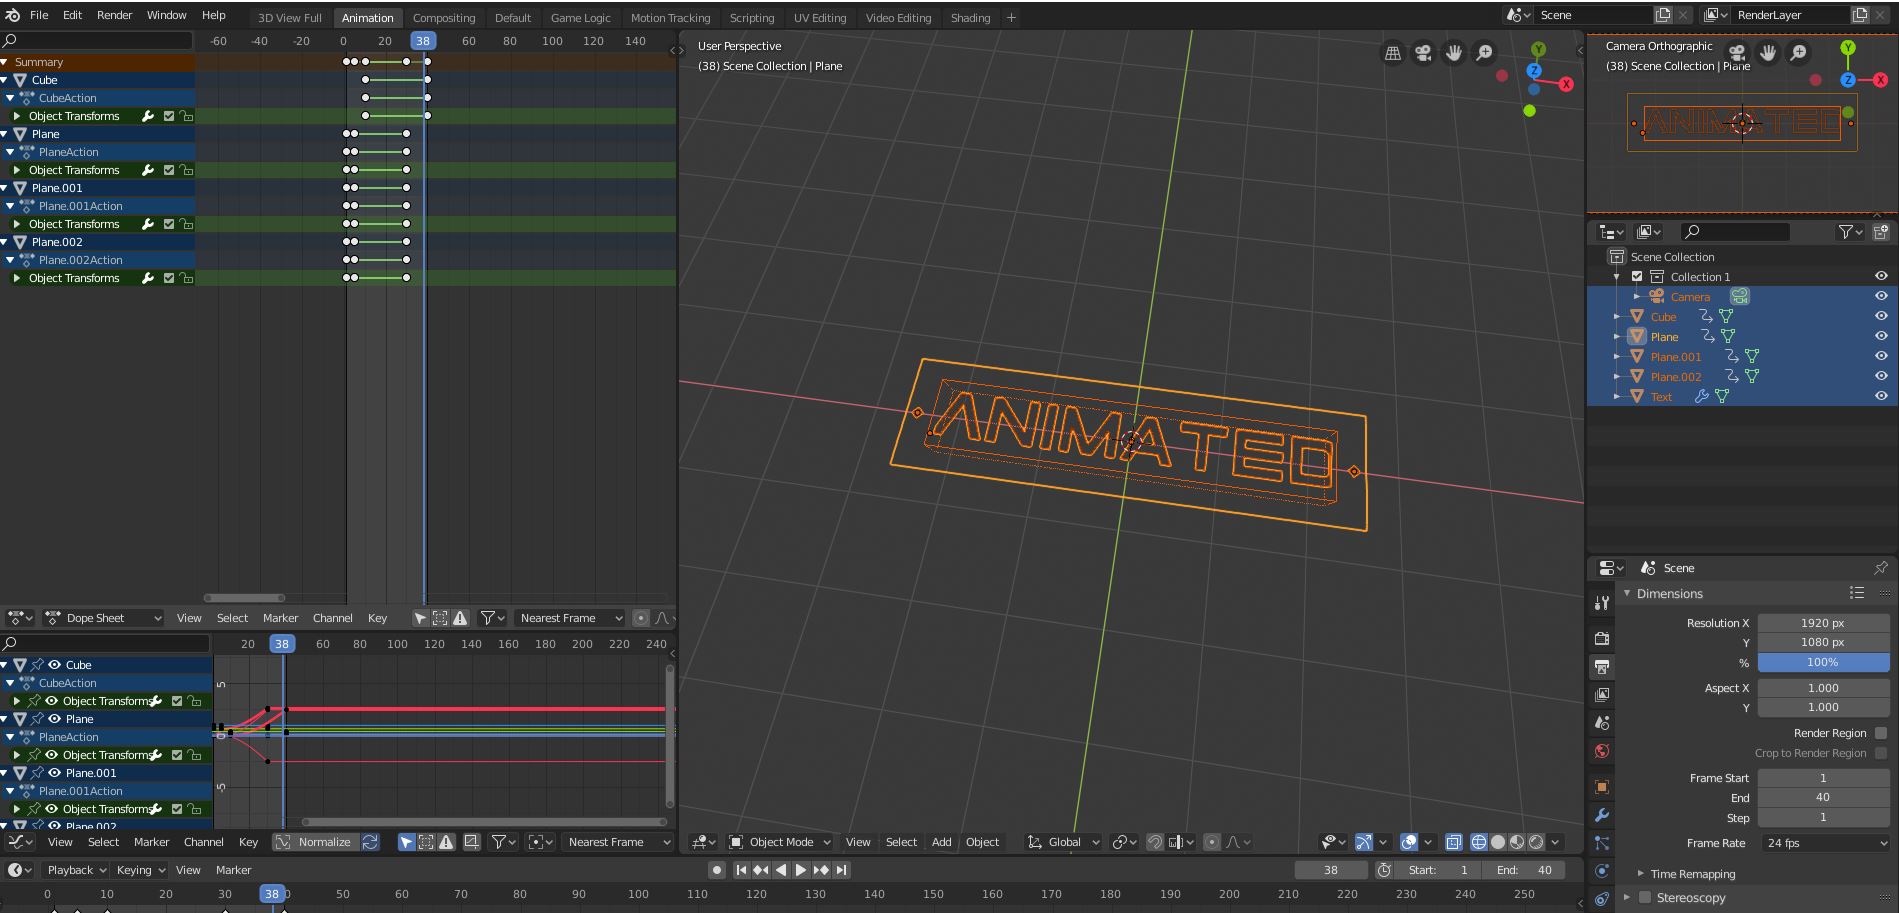
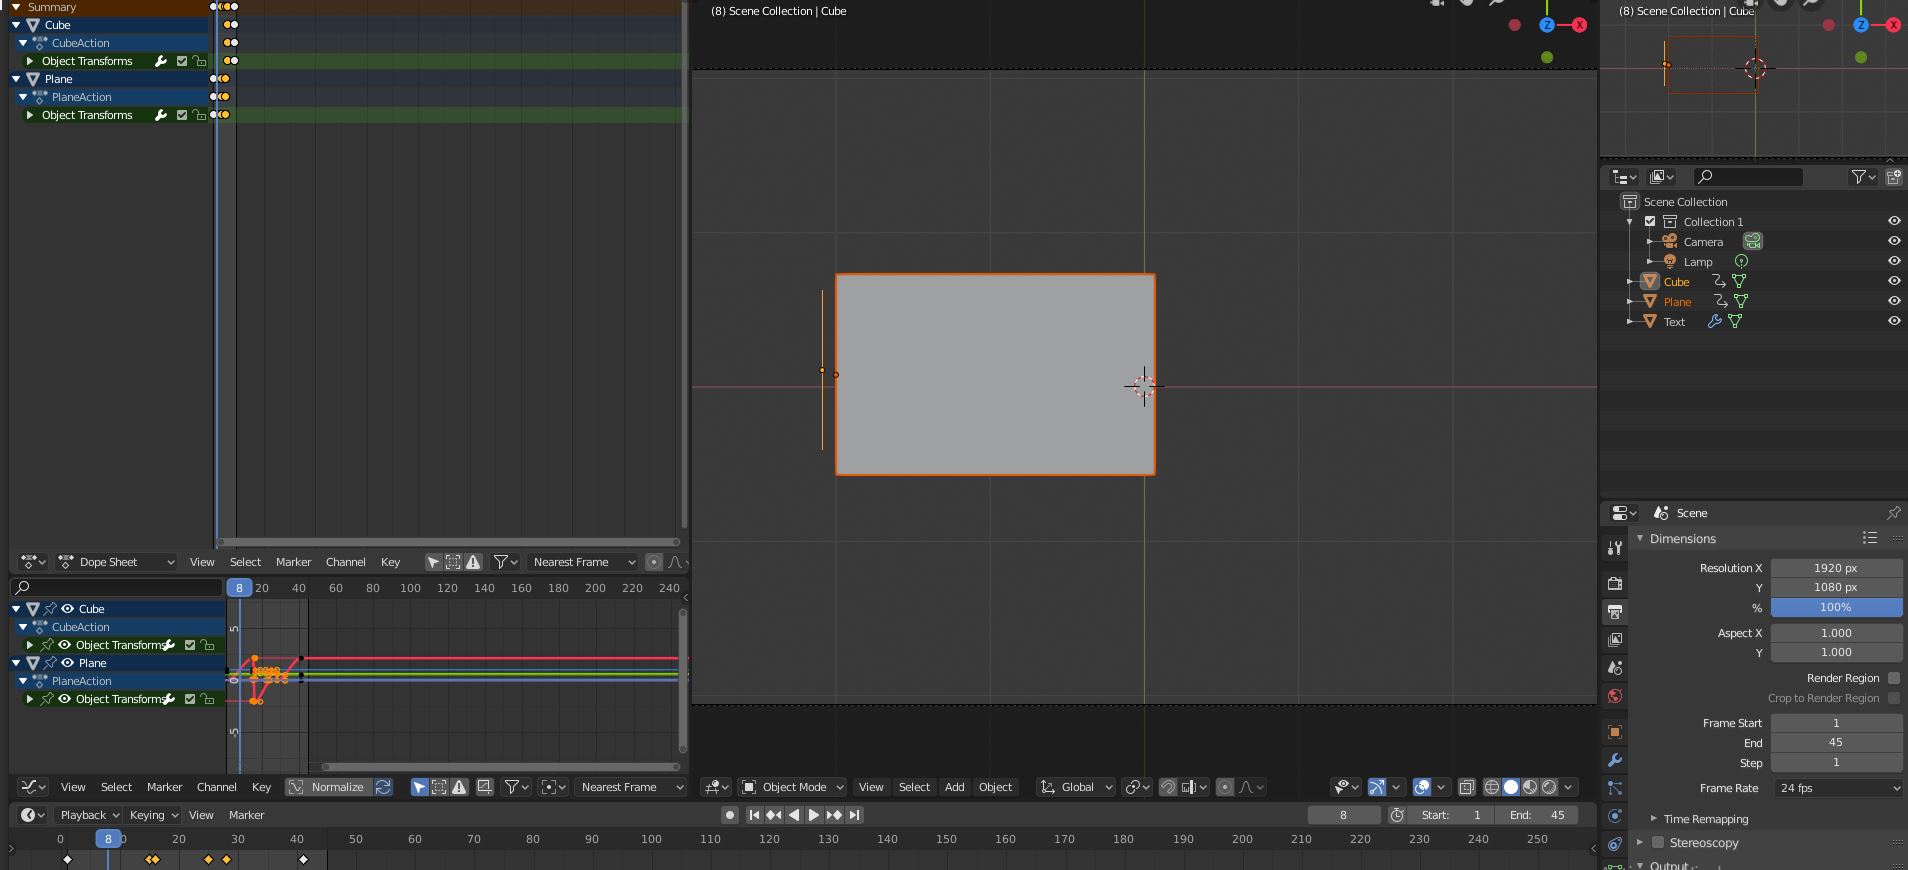
Next, we’ll be making our rails reveal.
The only difference really here, is that we have rails and handles surrounding the text but not behind it. We follow a similar procedure to the first step, animating a scaled boolean intersect brush surrounding some remeshed custom text.
Again, here are some critical frames for reference. We’re going to scale the rails (planes flattened on the Y axis) on the X axis, and keyframe the position of the handles (octagons).
*You might notice some weird noise in the FCURVES, that’s because I set the interpolation (Press T while hovering over animation panels) to bouncy.*
A second trick for this animation is to make the octagonal handles (or any other 3d geometry) “appear” out of nowhere. Simply set their scale normally on the first frame you want to see them (say frame 5), and on the frame before that, set their scale to zero. They’ll seem to appear out of nowhere.
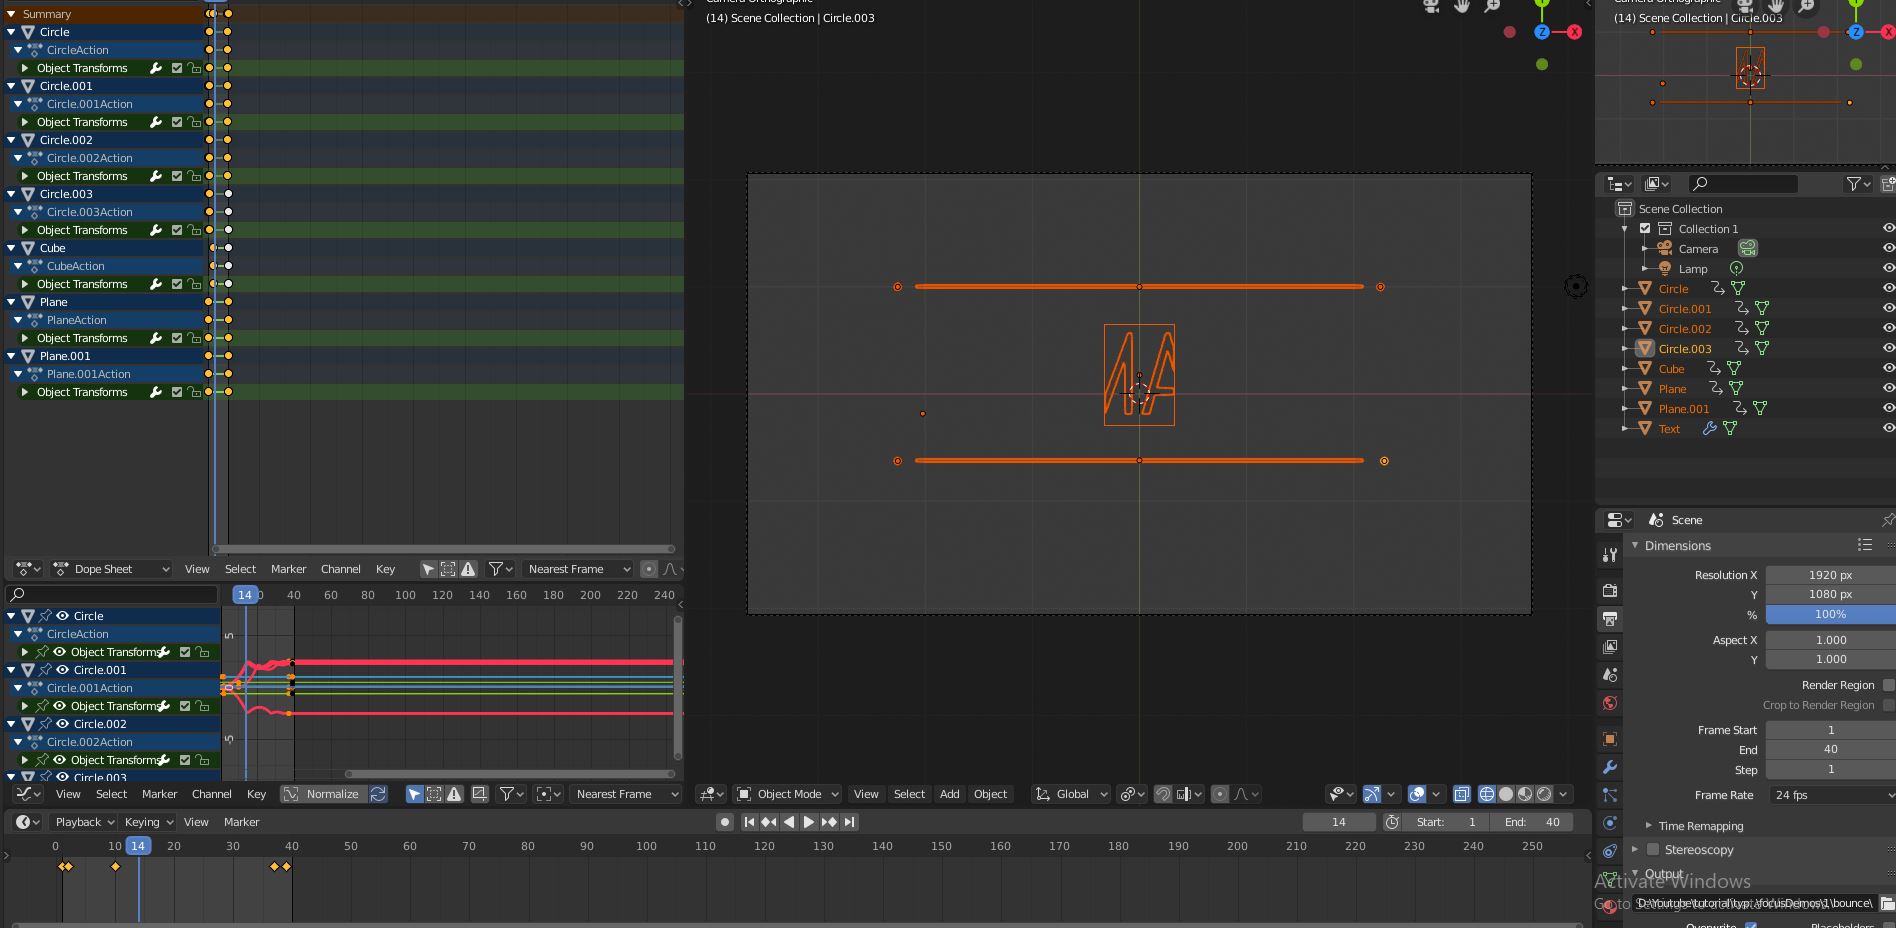
Our scrollover effect will exploit the ability to instantaneously scale things, so that it appears that our overlay rectangle scales from left to right, pauses, and scales down from right to left. While there’s many ways to do this, we can do some 3D sleight-of-hand and flip the scale and position during a 2 frame sequence, in order to make it seem like the origin instantaneously changes sides.
Notice how the origin is on the left in the first frame, then on the right in the second. We do this by scaling by -1 on the X axis, then translating right. Try to line it up so the edges are on the same position before and after the flip. This will determine to which side the geometry shifts when scaling on the X axis.
Now, here’s a frame overview:
Note that the origin for the enveloping boolean intersect box will be on the left side! You may change the origin’s position by translating the whole box in edit mode.
Finally, our side reveal. This one is effectively a combination of the first (background dots) and third (scrollover) reveal with not much new involved, so I’m not going to go over it, and leave it as an exercise. It’s a useful effect, but simple.
Conclusion & Essential Points
Here’s a couple of the most essential tricks I’ve learned while making this tutorial: 1. Make use of instantaneous changes to make quick effects, for example, geometry appearing out of nowhere by setting scale to zero on frame X, and scale to 1 on frame X+1. 2. You must remesh text to consistently apply boolean operations on it. Otherwise, unexpected behaviour will emerge, depending on the font. Also, this requires the text to have volume, so you must extrude it up or down. 3. Add animation offsets to change the character of the animation. Make the text show up a little bit after the background starts revealing itself. 4. Use the transparent film background option to be able to overlay these effects on other videos (I’ll probably make a tutorial on this later) 5. Take advantage of interpolation options to spice up your effects! Bounce, Back, and Elastic really change the look of an animation for no work! (Again, a more in depth tutorial will be made on this later)
If you want to check out my other motion graphics tutorials, please click the links below:
5 Animated Motion Graphics Effects
Thanks for reading! If you have any problems or suggestions, feel free to contact me or leave a comment.
Cheers!